
Character & image creation
Image to Image AI Direct one focused edit with image to image AI.
Try eligible image-to-image models for free with available account credits. Upload a permitted source, request one edit and compare the subject, framing and text with the original.
Start with a free account and available starter or earned free credits for eligible basic options. Sign in and review the cost; paid models and other plan limits still apply.
01 / A more useful starting point
Write an edit, not a second unrelated image
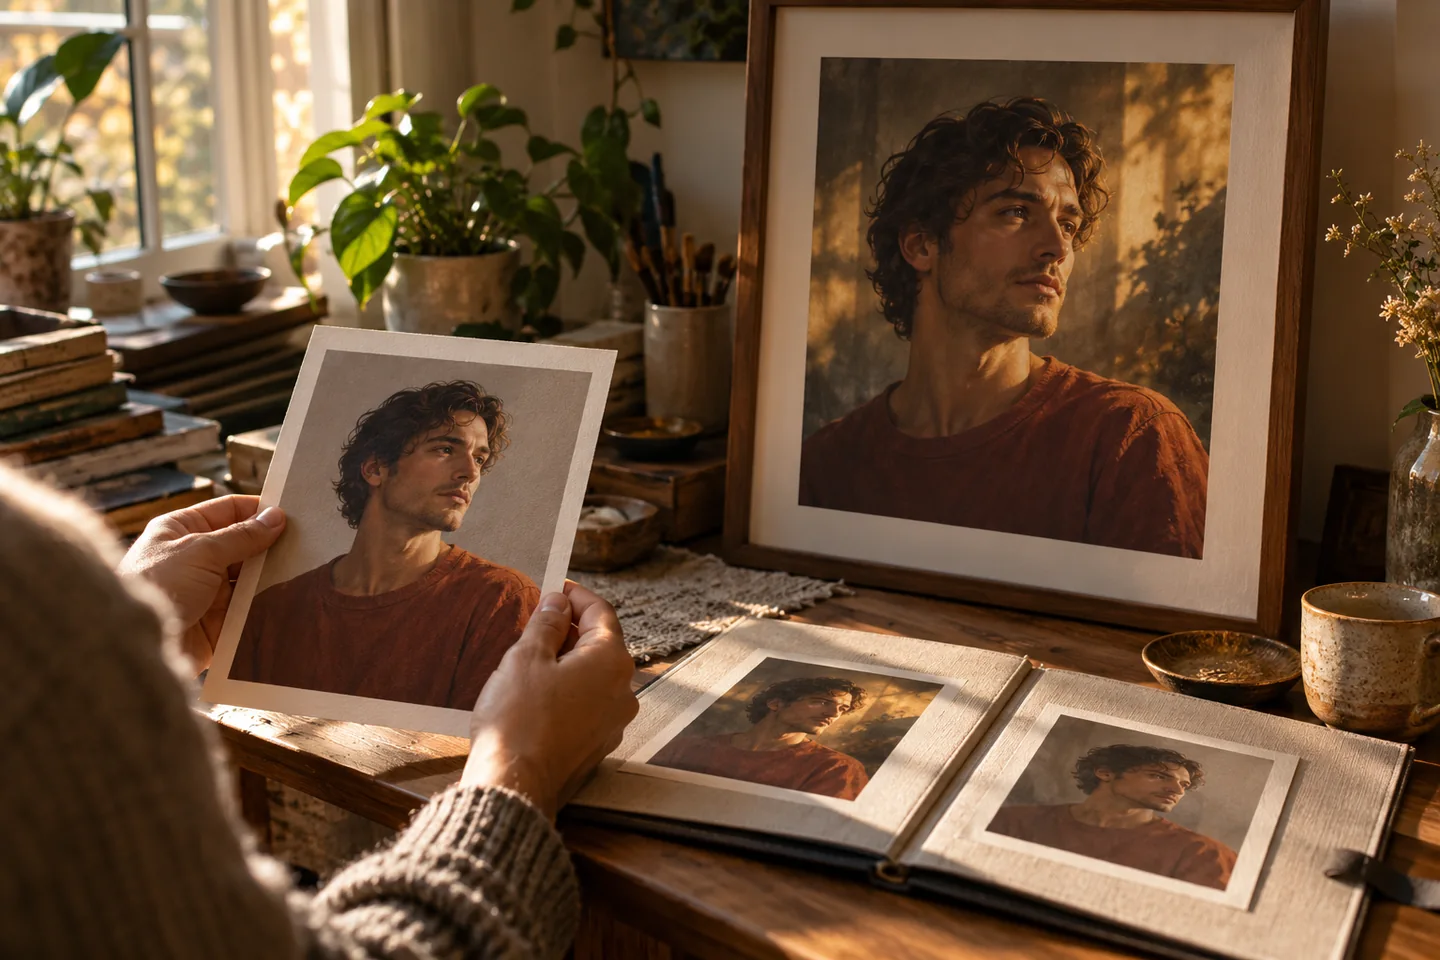
Name the subject and the requested change. A concise edit such as a softer studio backdrop is easier to assess than a new prompt that replaces the character, camera angle, outfit and setting at once. Keep a separate copy of the original and write a short acceptance check such as “same head angle and glasses; softer background.” That check is a review target, not a preservation guarantee.
Open Image to Image AI
02 / A more useful starting point
Match the framing to the purpose
A source crop close to the target shape gives you a useful starting composition. A new aspect ratio can change where the model places the subject; inspect the result before using it as a cover or panel.
Open Image to Image AI
Three practical starting points
Try a brief. Inspect the result. Change one thing.
Try these exercises for Image to Image AI, with concrete details to inspect. These are suggested exercises, not recorded customer projects.
A new lighting direction
Suggested brief
Use a permitted portrait and request soft late-afternoon window light while keeping the head angle and simple outfit.
- What to inspect
- Check skin tones, face proportions and the direction of the new shadows.
- What to change next
- Make the lighting request more specific rather than adding unrelated style terms.
A scene variation
Suggested brief
Use an original street illustration and ask for the same viewpoint on a rainy evening with warm shop lights.
- What to inspect
- Compare major building shapes and the placement of the main subject.
- What to change next
- Use a clearer reference when the composition moves too far from the source.
A clothing concept
Suggested brief
Use an original character reference and describe a teal utility jacket over a cream high-neck shirt.
- What to inspect
- Inspect sleeves, hands and where the jacket overlaps the body.
- What to change next
- Try a simpler pose if the garment edges merge with the arms.
From input to a useful output
How to use Image to Image AI
Work through a small task first, then keep the steps that help your project.
- 01
Choose the source
Upload an image you are allowed to use.
Check: Prefer a clear file with the framing you need.
- 02
Describe the edit
State what should change and what should remain recognizable.
Check: Avoid conflicting instructions.
- 03
Set available options
Choose a model and canvas in the current workspace.
Check: Only use strength or reference controls that the selected model actually exposes.
- 04
Inspect and refine
Compare the original and the result before downloading.
Check: Review faces, hands and writing at full size.
Know the boundaries
What to check before you rely on the output
- Different models interpret references differently. This page does not promise exact subject preservation.
- Not every model exposes the same edit-strength or masking controls; follow the current tool rather than a fixed recipe.
- Generated faces, hands, text and small details can vary. Review the output before using it in a larger project.
Image to Image AI: your questions, answered
How is this different from text to image?
A source image guides an image-to-image request. Text-to-image starts with a description without an image reference.
Can I edit just one detail?
Describe a focused change and use a suitable editing model. Check the output because a generative edit can affect surrounding details.
Do all models offer a strength slider?
No. Available controls depend on the selected model. Use the controls currently shown in the workspace.
Which image is a useful source?
A clear permitted image with a suitable crop and visible subject details gives the model a better reference.
Can I try it for free?
Try eligible basic generation for free when your account has enough available starter or earned free credits. Sign in and review the model, cost and plan limits first. Each request consumes credits; paid-only options and further generations may require a paid plan or purchased credits.
Can I publish the result?
Use references you own or have permission to use. Publishing and commercial use depend on your plan, the Terms of Use and third-party rights; a generated image does not by itself clear those rights.
Sources and further reading
Check the guidance behind the workflow
Each source is linked with its scope. An external reference is not an endorsement or performance certification.
LlamaGen: reference-image guidelines
First-party public-tool guidance links to reference-image, upload and output-format help. Follow the controls shown by the selected tool; this is not an independent performance review.
LlamaGen content policy
Rules for uploaded references and generated content; this is a product policy, not an independent endorsement.
LlamaGen plans, credits and account support
First-party plan information. Check the selected tool for model access and the cost of each generation; contact [email protected] for account questions.
Continue your creative project
Image to Image AI
Start with one clear idea.
Start with a free account and available starter or earned free credits for eligible basic options. Sign in and review the cost; paid models and other plan limits still apply.
Open Image to Image AI