

Quick answer
Use the pencil drawing as the source, specify one visible correction, and state which line and paper qualities to keep. Prefer a local edit when most of the drawing is approved. Review the output for new ink outlines, smooth shading and lost construction lines before saving.
For existing graphite or monochrome pencil artwork. This guide concerns editing a drawing, rather than converting a photograph into a pencil effect or promising exact stroke preservation.
Choose an editing approach
| Situation | Recommended approach | What to check |
|---|---|---|
| One finger or sleeve seam is wrong | Localized inpainting | Inspect the join with neighboring strokes. |
| The torso or pose must change | Reference-based sketch edit | Inspect the complete silhouette and anatomy. |
| The drawing should become colored art | Use an intentional color workflow | Keep the monochrome original separately. |
| Only the scan has a camera shadow | Prepare the scan first | Avoid changing the drawing during cleanup. |
Describe the pencil qualities you want to preserve
“Keep the style” leaves several decisions open. Name the useful traits: light graphite contours, visible crosshatching, uneven stroke pressure, construction lines and warm paper. Use only traits actually present in the source. A clean technical drawing should not acquire rough crosshatching merely because both use pencils.
Decide whether the result remains a working sketch or becomes finished art. If you want the drawing to stay rough, explicitly retain construction marks and avoid requests such as “polish,” “render beautifully” or “highly detailed finish” that could encourage a different treatment.
Prepare a source that shows the marks clearly
Photograph the page under even light and crop away the desk if the desk is irrelevant to the edit. Retain enough surrounding paper for texture and value comparison. A sharp image of the existing strokes is more informative than an enlarged, blurred version.
Correct a strong camera shadow in a separate preparation step if it obscures the intended linework. Keep an untouched copy. Cleaning the scan and changing anatomy in the same request makes it difficult to tell whether missing lines are deliberate cleanup or accidental loss.
Match the edit size to the drawing problem
A missing sleeve seam or one awkward finger is a local problem. A turned torso or new camera angle affects the structure of the whole figure. Use a mask for the former and a reference-based candidate for the latter. A tiny mask cannot reliably solve a pose whose shoulders and hips both need to move.
The pencil editor creates an image-to-image candidate from your uploaded drawing. For a brushed local region, open the existing comic inpainting workflow instead. Both workflows need review; preservation instructions do not make pixels outside a target region immutable.
Compare marks as well as the depicted object
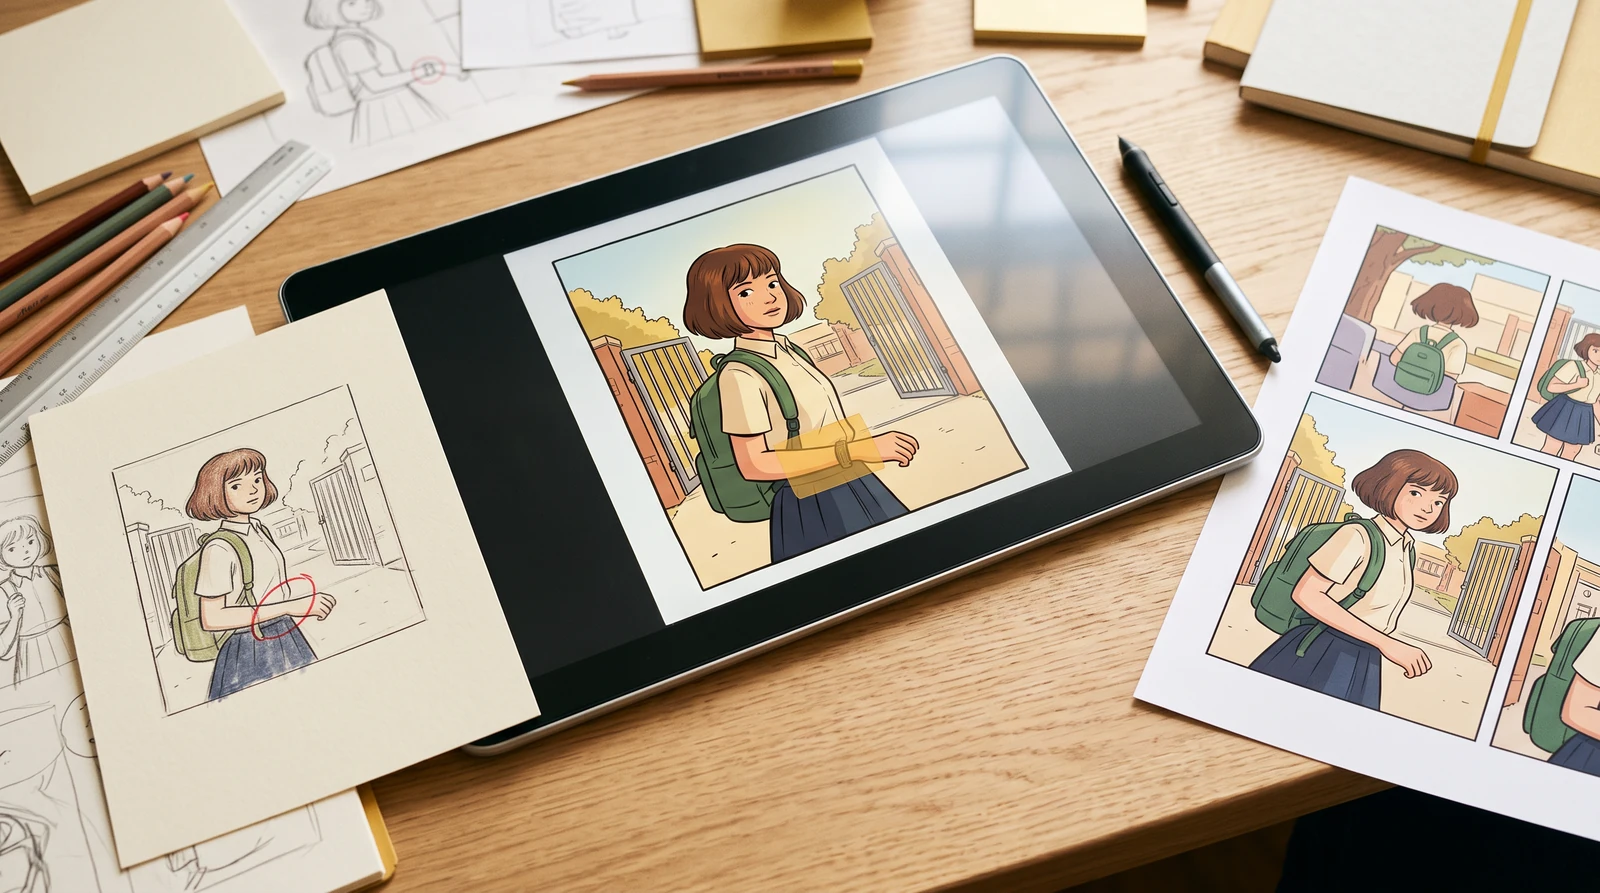
A corrected hand may be anatomically better while the drawing becomes glossy or inked. Inspect contour weight, hatching direction, paper tone and the darkest marks. Compare a small crop at equal scale, then look at the complete composition at normal reading size.
Generative image output is a flattened raster image. It does not restore editable pencil layers or a vector stroke history. Keep your original scan and source project if you need further hand drawing, layered cleanup or a print master.
Step-by-step workflow
Save a clear original
Use a readable scan or photograph. Retain the untouched drawing before cropping or editing.
Name the fixed drawing traits
List the actual contour weight, hatching, construction marks and paper tone visible in this source.
State one correction
Describe the replacement shape or action. Separate it from the rendering traits to preserve.
Generate from the drawing
Upload the original to the pencil editor. Review the complete prompt, model and credit amount before generating.
Inspect texture and structure
Compare small crops and the whole drawing. Reject unwanted coloring, heavy ink edges or smooth gradients even if the corrected object looks attractive.
A worked editing brief
Illustrative writing example. This is not a recorded before-and-after image test or a customer result.
A rough graphite drawing of an adult holding a cup has an unclear thumb. The loose contours and crosshatching should remain.
An ambiguous instruction
Fix the hand, improve the quality, and make it beautiful.
A more specific instruction
What would make the result acceptable?
The thumb should connect naturally to the palm without changing the cup position. Adjacent sleeve strokes should still look like the same drawing. A polished painted hand fails the style check.
Review the result before accepting it
- The correction solves the intended anatomy or object problem.
- Contour weight and hatching still match surrounding marks.
- Paper tone and visible texture remain coherent.
- No unwanted color, ink outline or airbrushed shading appears.
- The source is retained alongside the flattened candidate.
If the edit still misses the mark
- The result becomes inked
- Remove polishing language and describe light graphite edges explicitly. Try a smaller edit.
- Paper texture disappears
- Retain surrounding paper in the reference and ask for its existing tone and texture; compare rather than assuming success.
- A local correction changes the pose
- Return to the source and use a narrower mask in the inpainting workflow.
Common questions
Does AI preserve every pencil stroke?
No. It may regenerate nearby marks. Keep the original and compare stroke character and composition.
Can I use a colored-pencil drawing?
You can describe the actual colors and paper texture, but the monochrome preset is intended for graphite. Remove conflicting monochrome instructions for colored-pencil work.
Is the output an editable drawing file?
The generated candidate is a raster image, not an editable pencil-layer or vector project.
Can I keep a rough draft rough?
Specify visible construction lines, uneven graphite pressure and unfinished areas that should remain. Avoid asking for a polished final illustration.
Continue your comic workflow
Build a useful costume reference, diagnose dark or changing clothing, and repair one garment without redesigning the character.
How to Use Character, Pose and Style References Together →Assign clear jobs to character, clothing, pose and style references so a comic editing request has fewer conflicting instructions.
Redraw Comic Poses Without Losing the Character →Change a comic panel’s action, prevent outdated scene instructions from conflicting, and review the intended cast, costume and framing.