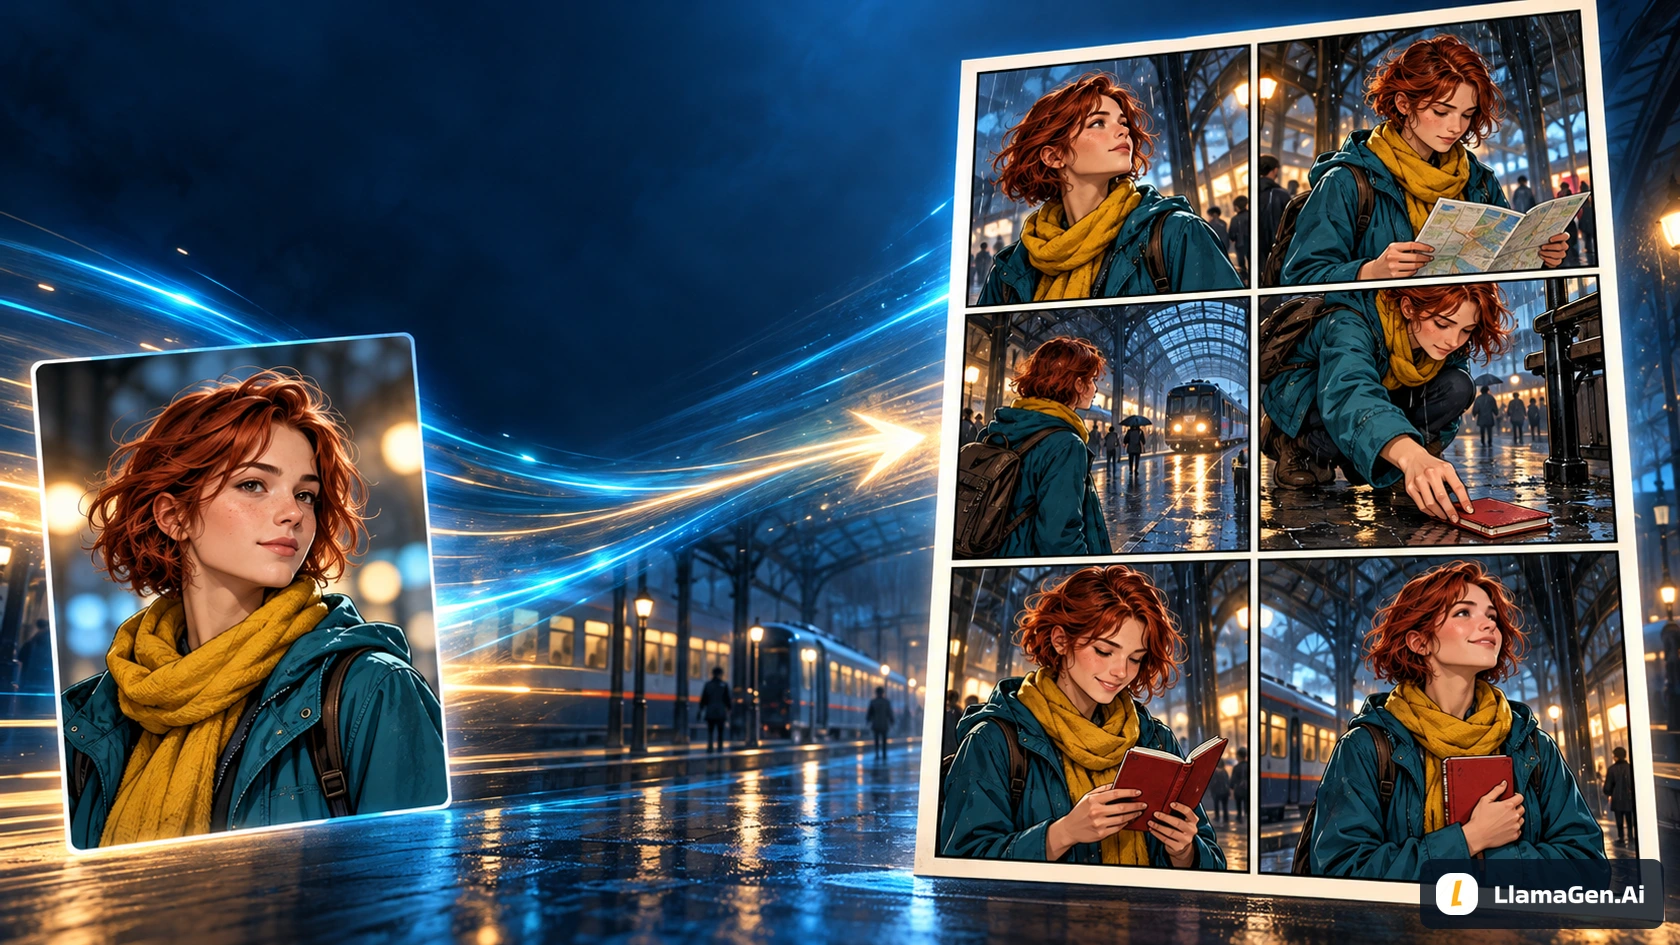
To make an OC, start with a character who wants something, choose a few visual details that express that idea, and compare designs before committing to one. AI can help you explore the look, but you still decide the character's identity, story role, and final design.
An OC is an original character: someone you develop for a story, comic, role-playing campaign, or personal art project. A name and a list of powers can start the process, but they usually do not give an image generator enough direction to produce a recognizable design.
This guide builds a compact character brief for Maya, an adult traveler who finds a lost red notebook at a rainy station. You can open OC Maker and adapt the brief to your own character.
Example scope — November 12, 2026: This manuscript retains the original teaching plates and includes three real design outputs plus one pose refinement from LlamaGen.AI's image playground, using Vertex Nano Banana 2.1. Public OC Maker was inspected in an anonymous browser. The image exercise is not a signed-in OC Maker session, and its elapsed request times are not a beginner completion-time promise. Final cost and Studio credits were not available. Compare each illustration with its stated input and purpose; the older teaching plates use a different illustrative interpretation.
1. Give the character a job in the story
Begin with a sentence you can use to make decisions:
Maya is an adult traveler who notices small things other people miss.
At a rainy station, she wants to return a lost red notebook before
its owner boards the last train, but she hesitates to approach strangers.
This creates useful tension. Her observation helps her notice the notebook; her hesitation makes returning it difficult. It also suggests practical clothing, attentive posture, and expressions that belong in the scene.
Write three short answers for your own OC:
Question
Maya's example
What does the character want here?
Return the notebook before the train leaves
What makes that difficult?
She is reluctant to approach strangers
Nhật ký thay đổi
Khơi dậy ước mơ cho thế hệ trẻ Nơi hàng triệu câu chuyện trở nên sống động
Tổng hợp các tính năng mới nhất của LlamaGen, cải tiến sản phẩm, cập nhật thiết kế và các bản sửa lỗi quan trọng.
✦
✧
✦
✧
Một phương tiện mới cho Kể chuyện
Thỏa sức tạo ra không giới hạn câu chuyện, truyện tranh, hoạt hình, trò chơi và hơn thế nữa—chỉ trong vài giây, phù hợp với khán giả hiện đại
What action reveals personality?
She checks the notebook for a name before asking for help
You do not need a full biography to begin. Keep the background details that affect the present scene. A long family history is less useful to a first portrait than a clear age, silhouette, and expression.
2. Translate personality into visible choices
"Kind, mysterious, adventurous, beautiful" describes an impression. It gives you very little to check in a generated image. Translate the impression into choices you can point to.
For Maya, the starting design is:
Adult woman; short auburn bob; practical teal rain jacket;
mustard scarf; dark jeans; brown boots; compact olive backpack.
Attentive expression and slightly cautious posture.
Choose only a few details as the initial anchors: the short auburn hair, the teal jacket, and the mustard scarf. The rest supports the design. If every accessory is equally essential, reviewing a small image becomes harder.
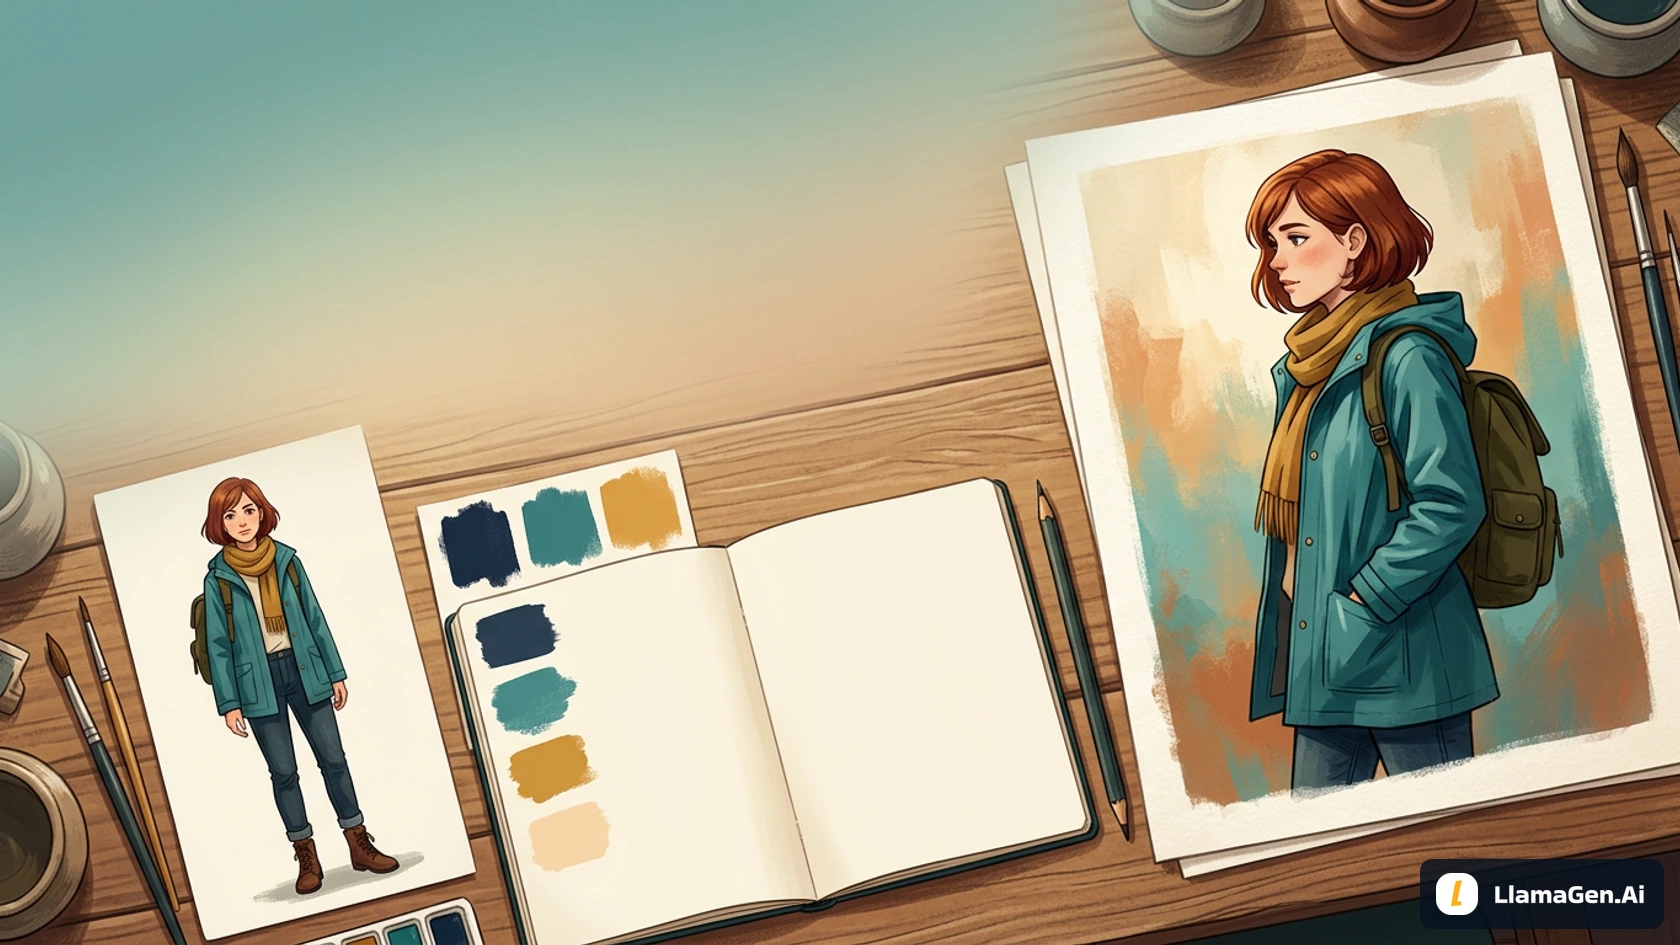
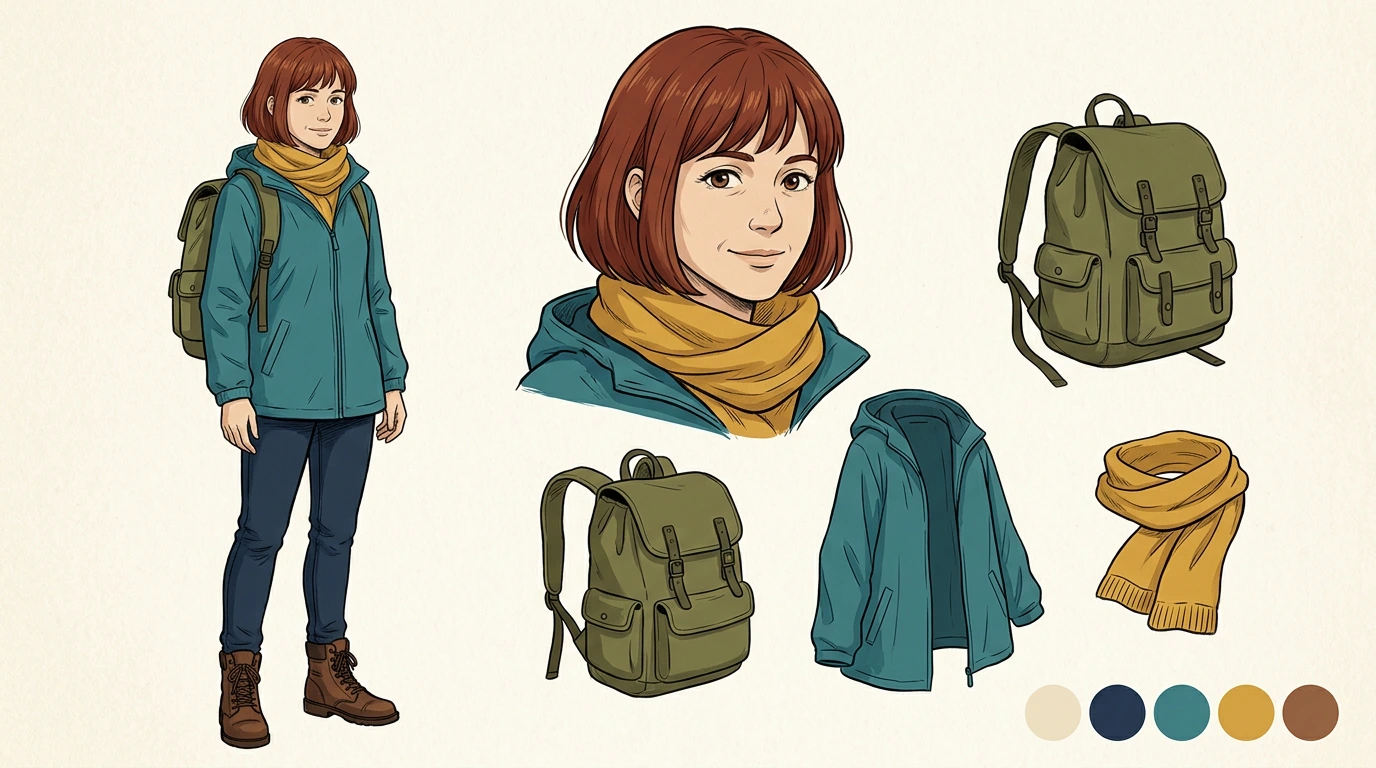
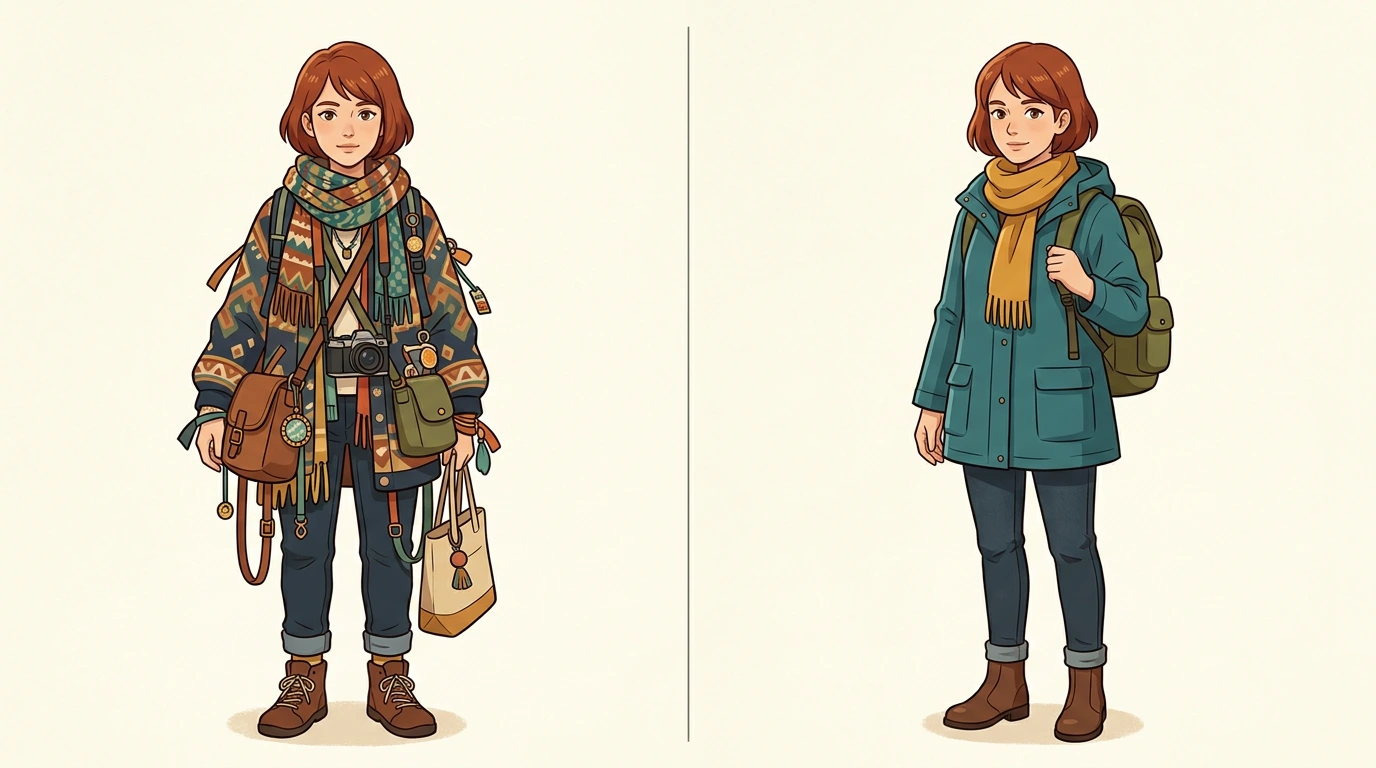
Teaching plate: the hair shape, jacket, and scarf make the design easier to recognize. Check any generated detail before approving it as a reference.
A visual anchor should stay readable at the size your audience will actually see. A distinctive silhouette or color block is often more useful in a small comic panel than a tiny engraving on a buckle.
Separate identity from temporary state. Maya can look worried, carry an umbrella, or stand in warm indoor light. Those changes should not silently replace her hair, apparent age, or core costume.
3. Write a prompt you can evaluate
Start with one character and a plain setting. A busy scene makes it harder to judge whether the design itself works.
Create one original adult female traveler named Maya.
She has a short auburn bob, a practical teal rain jacket,
a mustard scarf, dark jeans, brown boots, and one compact olive backpack.
Show her full body in a relaxed three-quarter standing pose,
both feet visible, with a clear silhouette and attentive expression.
Clean modern anime illustration, simple warm gray background,
soft even lighting. No lettering, logos, collage, or extra characters.
This prompt gives you several visible checks: one adult character, the specified clothing, an uncropped body, and a readable silhouette. If the image misses the boots or adds another bag, you can name the problem precisely.
For a first portrait, change the framing instruction to a waist-up view. Do not ask for a close-up face and full-body costume detail at the same time. Decide what the current image needs to establish.
Avoid changing the character brief, style, pose, and background all at once. When the result improves, you will want to know which decision helped.
4. Explore three deliberate design directions
Before approval, an original character creator should help you make design choices. After approval, the task changes to preserving the selected identity. Do not confuse an intentional hairstyle alternative with unwanted identity drift.
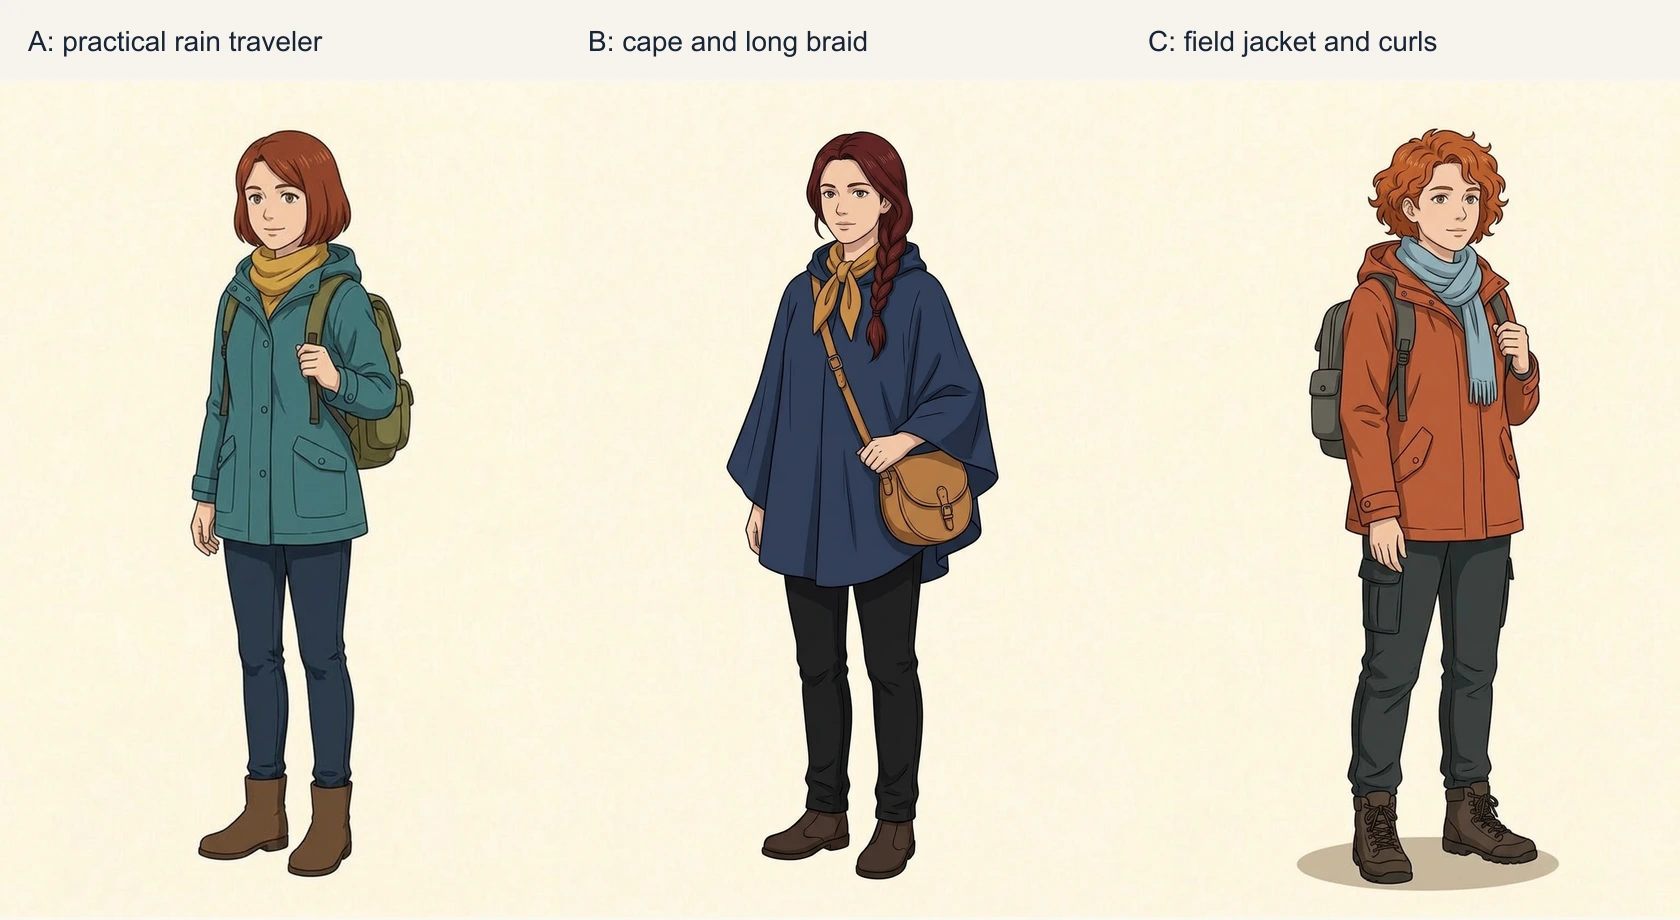
For the real exercise, one owned Maya reference sheet supplied the illustration direction. A requested the established short auburn bob and practical teal outfit. B and C explicitly used the sheet for style rather than a locked identity and requested alternative hair and costume designs. They are three design proposals, not three supposedly identical portraits.
Direction
Observed design
Editorial choice
A: practical rain traveler
Short auburn bob, teal coat, mustard scarf, compact olive backpack
Keep for continuity with the station story
B: cape and braid
Long dark auburn braid, navy poncho, ochre scarf, round tan satchel
A valid alternative silhouette, but a different design to approve
C: field jacket and curls
Copper curls, rust jacket, pale blue scarf, cargo trousers
A more outdoors-oriented option with extra costume shapes
All three first outputs are retained. The choice of A is an editorial decision about the story and the existing Maya asset family, not a model quality ranking. Each image shows one complete adult traveler. A keeps the familiar teal-and-mustard anchors, while B's cape conceals more body shape and C changes both the hair silhouette and supporting outfit.
Record why the selected design serves the scene. For this project: recognizable short hair, clear scarf, compact backpack, and a costume that can repeat across small panels. If you prefer B, you can approve B instead; the important step is to stop mixing the alternatives after approval.
A real production refinement
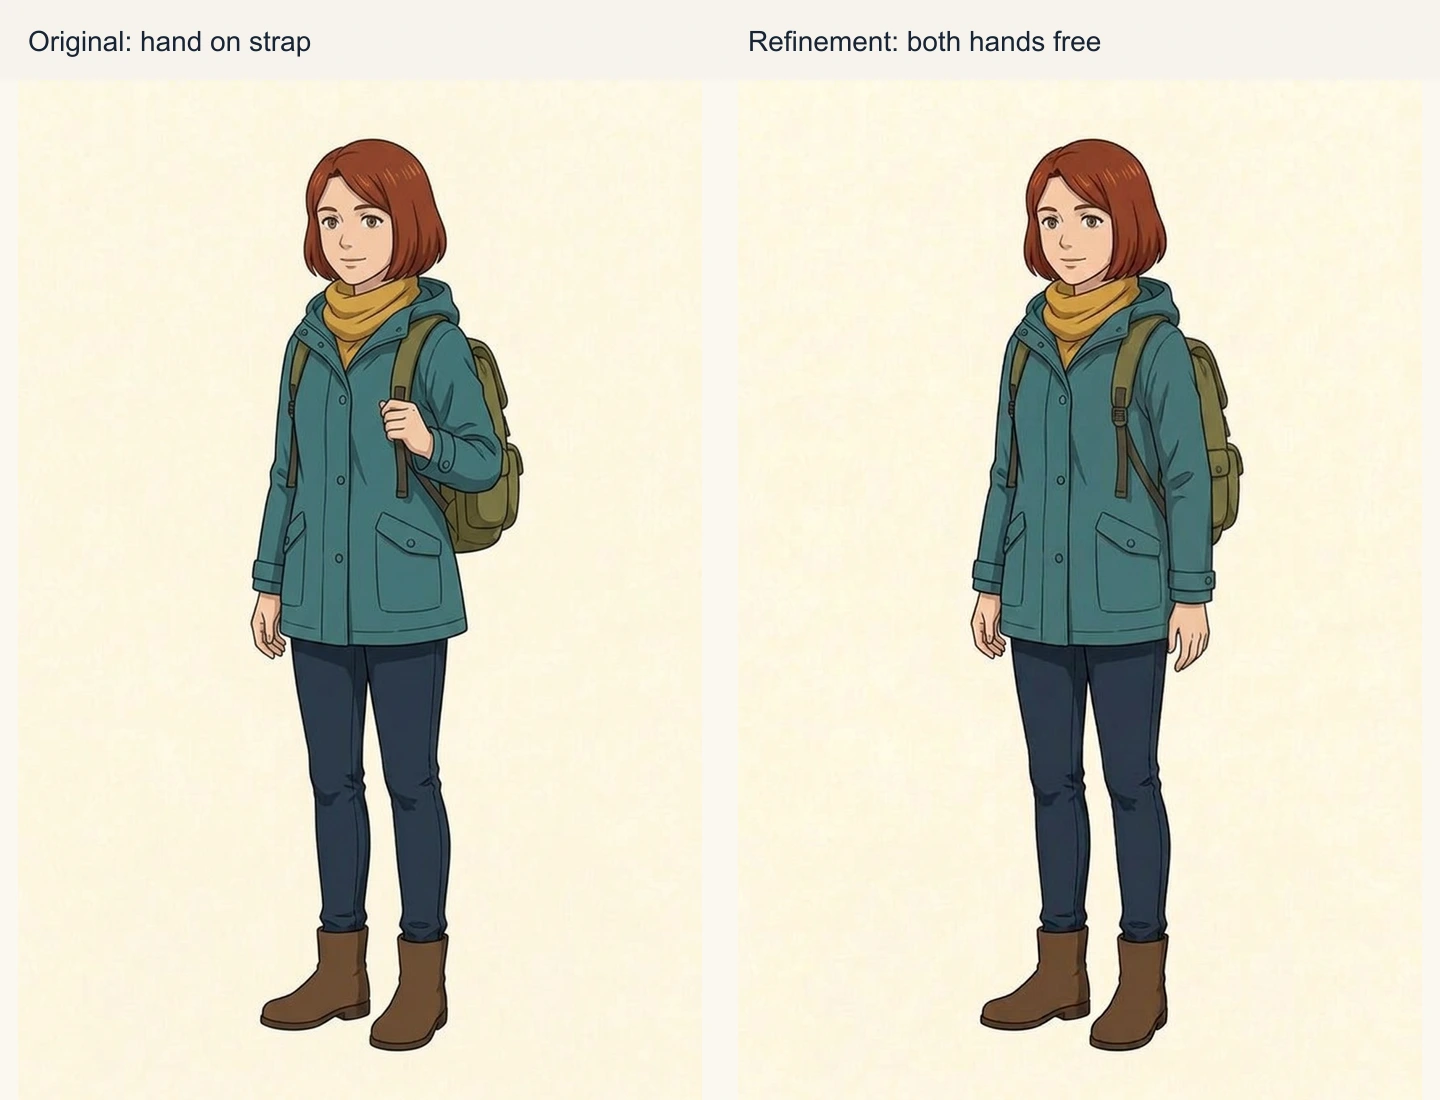
In A, one hand holds a backpack strap. That satisfied the original relaxed-pose request; it was not a failed prompt. For a scene in which Maya handles a notebook, a second request asked for both hands visible, empty and relaxed, while preserving the selected hair, face, coat, scarf, and backpack.
The revised result frees both hands and keeps the visible core anchors. Smaller folds and strap details can still change. This is an image-API refinement, not proof that a native Studio edit locks every other pixel.
Approve the second file as a named version and keep the first one in the history. A concrete note—“hands free for the notebook scene”—makes the change understandable to a collaborator.
5. Use OC Maker for a focused generation
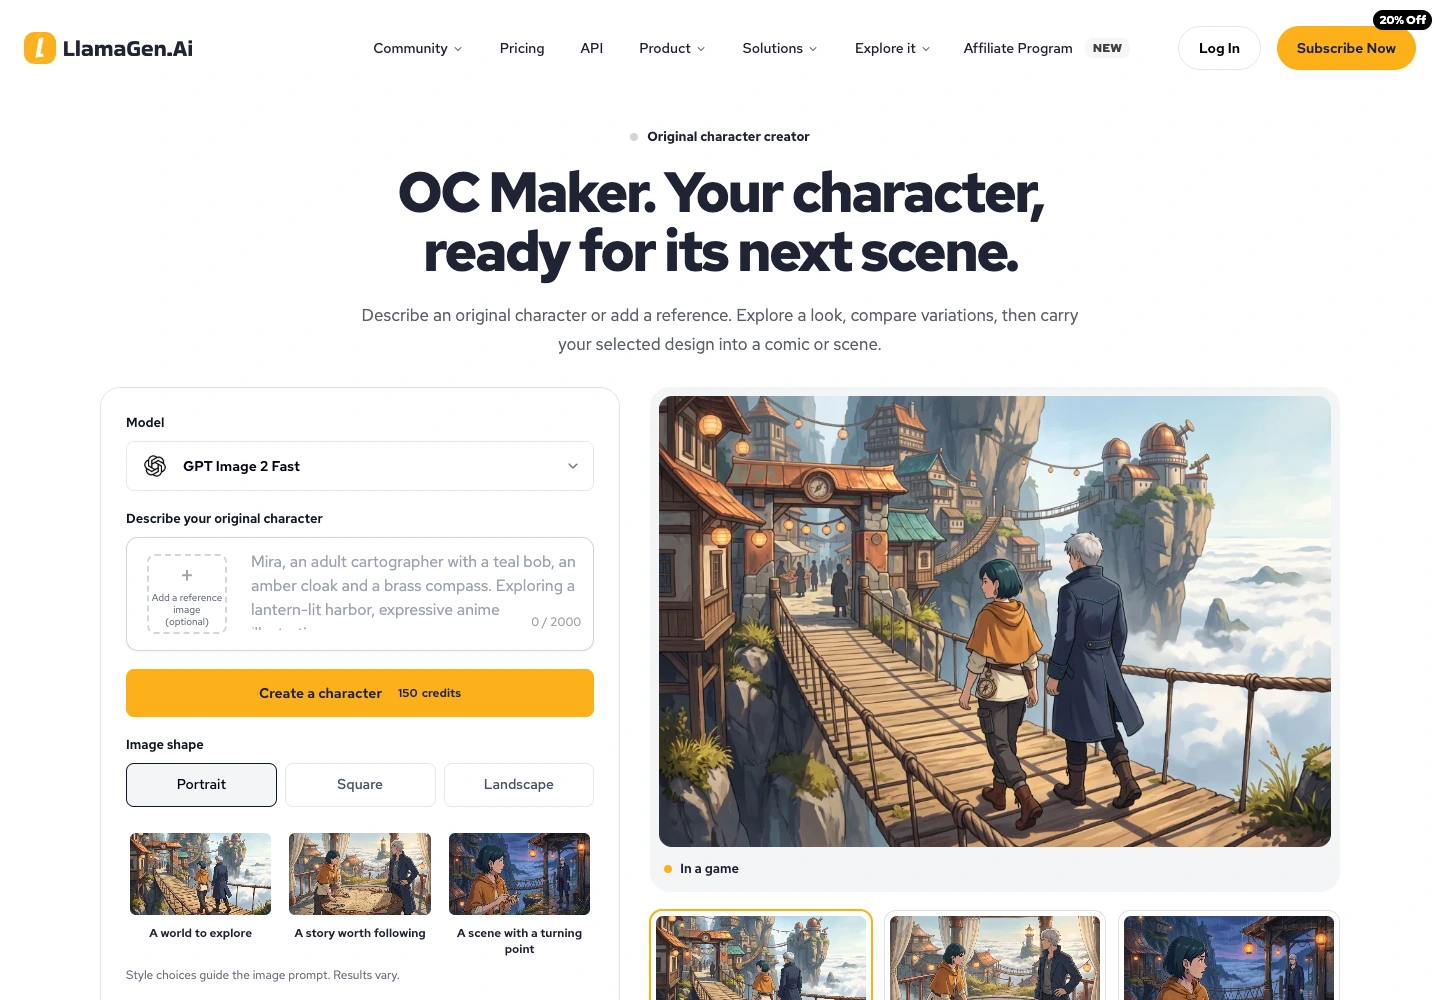
The public OC Maker page accepts a written idea and provides a path to use a reference image. From there, it continues into the image studio. Sign in, review the available model and canvas options, and check the displayed credit cost before generating.
Use a canvas that supports the current decision. A portrait can help you choose a face; a taller composition can help you inspect clothing and body proportions. Follow the options available to your account and selected model.
After generating, compare the image with your written checks. If you use an approved reference, confirm that the selected model supports it. A reference guides the result; it does not create an automatic identity lock.
Save the original file before making a crop or social preview. A face-only crop cannot show an artist how the jacket closes or where the backpack straps go.
Public entry captured November 12. Account-specific model choices, credits, and later Studio controls should be checked in the live session.
6. Simplify an unclear brief before adding detail
A common prompt problem is asking for too many unrelated ideas:
Mysterious adorable elegant futuristic medieval traveler with many
accessories, elaborate armor, glowing jewelry, huge backpack,
dramatic cape, intricate scenery, and a tiny full-body figure.
This is a constructed teaching example of a difficult brief, not a recorded failed generation. It puts several competing costumes and moods into one request. Even an attractive result may be difficult to recognize in a small panel.
Rewrite it around the scene:
One adult traveler, short auburn bob, teal rain jacket,
mustard scarf, compact olive backpack. Clear practical silhouette.
Full body, plain background, hands visible. Remove jewelry,
armor, extra bags, and decorative costume layers.
Teaching comparison: fewer competing costume elements make the important cues easier to inspect. This is not a before-and-after product benchmark.
If a real output has one specific error, write a specific correction. "Keep the selected face and outfit; change the backpack to compact olive canvas" is easier to review than "make it better." Still inspect the whole revised image for unintended changes.
7. Approve a character package you can reuse
Once you select a design, save a small package:
The approved original image at its available resolution.
The short identity description and relevant generation settings.
A list of fixed anchors and allowed changes.
Notes about any unclear details that still need a separate view.
Use a simple record:
Character: Maya
Version: maya-design-v01
Story role: observant traveler returning a lost notebook
Fixed: adult appearance, short auburn bob, teal rain jacket, mustard scarf
Supporting costume: dark jeans, brown boots, compact olive backpack
Allowed: pose, expression, camera angle, lighting, scene
Scene prop: red notebook; it is not a permanent body or costume feature
Unresolved: backpack closure and jacket construction from the back
Notice the unresolved line. A good reference package can admit what it does not show. Inventing a hidden detail differently in every scene creates more work later.
Give changes a new version. If you approve a longer coat in the next chapter, note when it replaces the earlier costume. Keep old reference files identifiable so they do not reappear by accident.
8. Move from an idea to a reference sheet
The first approved character image is a starting point. A reusable reference sheet adds the information a new scene or collaborator needs: front, side, and back views; expressions; palette; and important props.
Keep the current task modest. You are approving a design here, not proving that every future scene will preserve it. That proof comes from reviewing the actual images you make next.
Frequently asked questions
Can I make an OC if I cannot draw?
Yes. Begin with a written brief, explore visual directions, and choose the details that belong to your character. You can also use the approved brief and images to communicate with an artist.
How much backstory does an OC need?
Enough to guide the current scene and design. Start with a goal, a difficulty, and a visible behavior. Add history when it changes what the character does or how the design should read.
Does an AI original character creator keep the same face automatically?
Do not assume that. Repeated descriptions and supported references can guide a result, but you should compare the face, hair, proportions, and costume every time.
Is an OC reference sheet the same as a portrait?
No. A portrait establishes one view. A reference sheet explains details across views and gives another creator enough information to continue the design.
Can I use an existing image as inspiration?
Use references you have permission to upload. Identify what you want to learn from them, such as clothing construction or lighting direction, and develop a distinct character brief. Check the current service terms for your intended use.
Start your OC in LlamaGen.AI with one scene, three visual anchors, and a clear approval rule. Save the version you choose before you begin the next image.
Related hot tags
Trình tạo OC
Character Creation
AI Characters
Hướng dẫn
Công cụ tạo nổi bật
Biến cảm hứng thành câu chuyện tiếp theo của bạn
Tạo truyện tranh, storyboard và ảnh phong cách với LlamaGen.