

From photos and ideas to visual stories
AI image to comic generator: from photo to story
Turn a reference image into a comic draft: choose between a stylized image and a panel sequence, write a story brief, and review likeness and lettering.
By LlamaGenUpdated
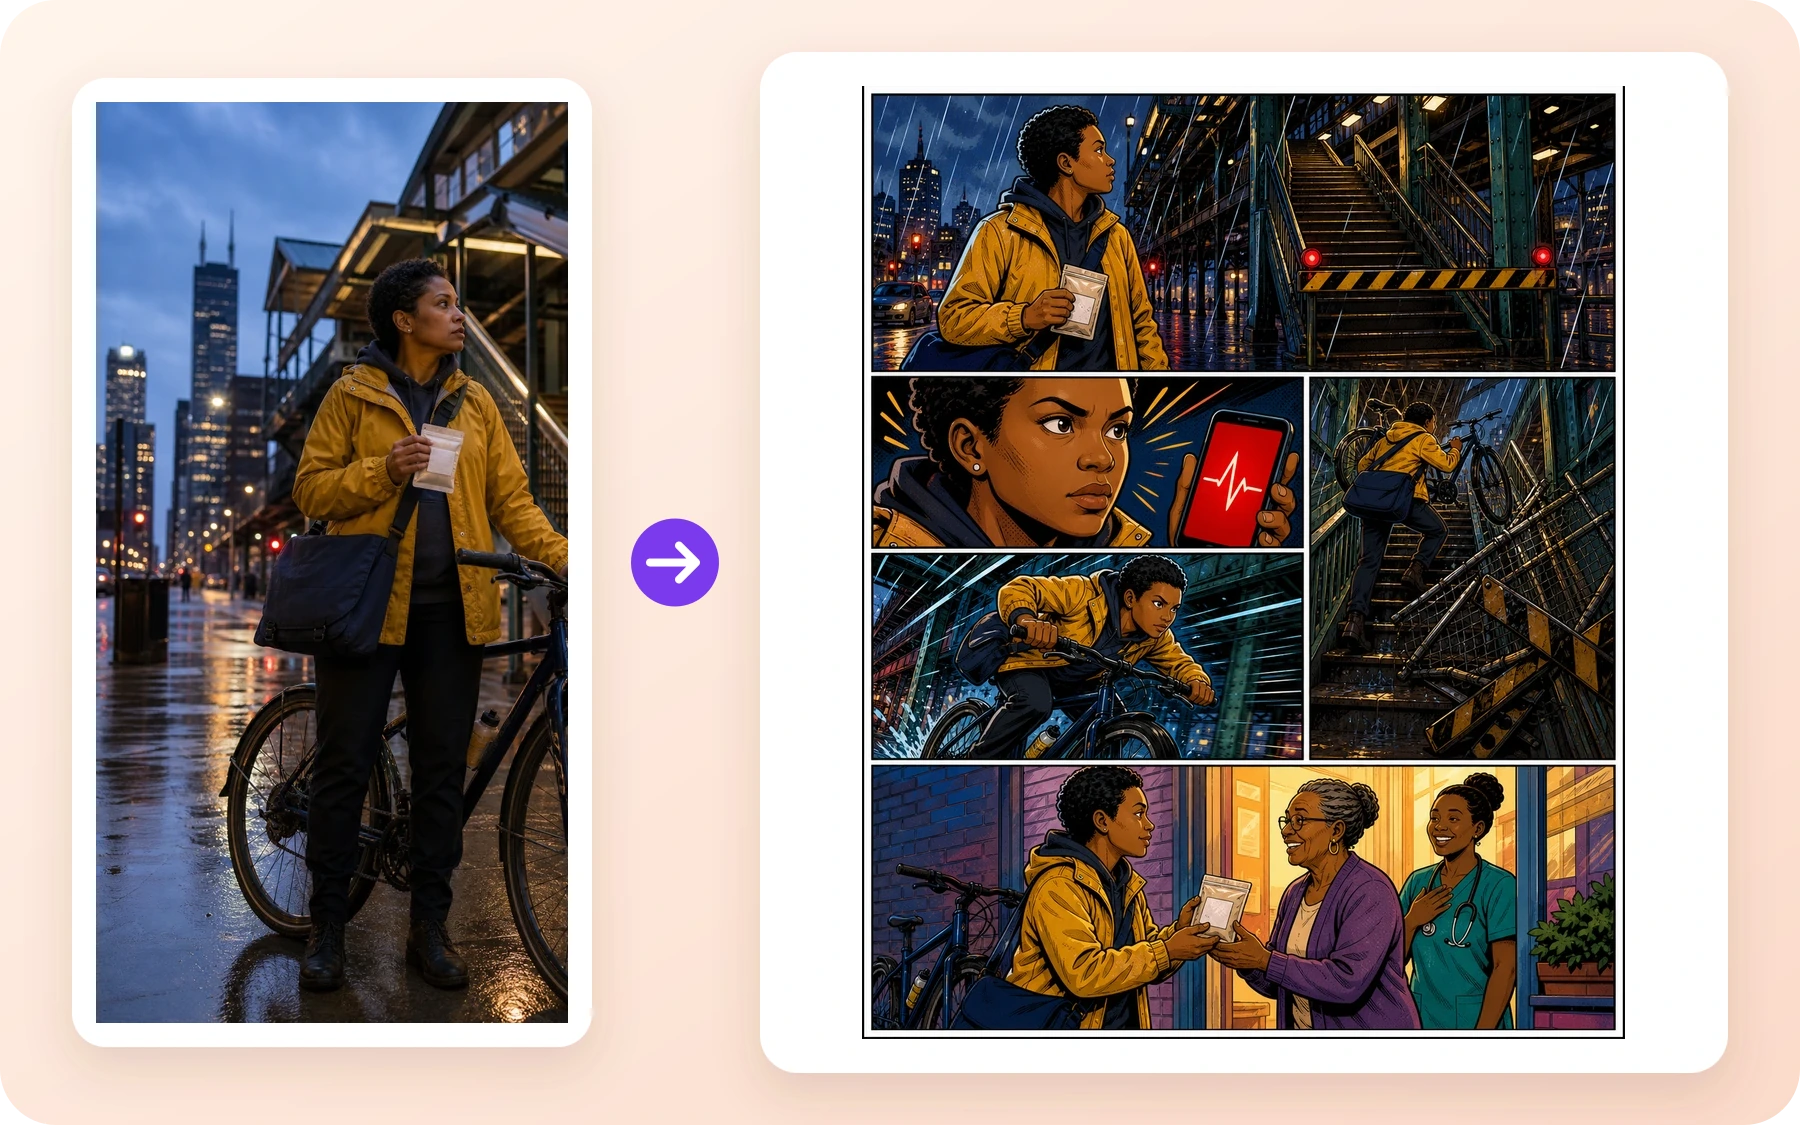
An AI image to comic generator redraws a source image into comic artwork. For a single illustrated picture, start with a style conversion. For a story, add a short sequence of events and review every panel for continuity. A photo layout app instead arranges your existing photographs without generating new artwork.
Choose and prepare your workflow
1. Pick the output before uploading
Use Turn Picture Into Comic for an AI-drawn result. Choose comic book, manga, webtoon or cartoon, then decide whether you need one image or a short story. For a first draft, use a sharp portrait, pet photo or scene with one clear subject. The current uploader lists JPG, PNG and WebP up to 10 MB; follow its on-screen requirements.
2. Build a small story around visible details
For a birthday memory, preserve the hairstyle, glasses and jacket, then describe setup, surprise and reaction. For a pet story, name the coat markings and collar before adding an action. A four-panel brief is a planning direction, not a guarantee of exact panel count. Leave speech bubbles empty when exact spelling matters, then add or correct dialogue in the editor.
3. Review the draft at two sizes
Compare face shape, accessories, pet markings and clothing with the source. Read the page at phone size to check panel order and dialogue, then inspect the downloaded file for hands and lettering. If the face changes, simplify the action or replace the reference before regenerating. Keep the source and accepted draft together so later pages can use the same visual direction.
Example creative brief
Use the attached portrait as a reference. Preserve the round glasses, short dark hair and green jacket. Create a four-panel color comic: a commuter misses the bus, notices a lost dog, returns it to its owner, then receives a thankful wave. Use clear reading order and empty speech bubbles.
Review before publishing
- Check the same identifying details in every panel; exact likeness is not guaranteed.
- Check panel order, speech-bubble placement and spelling after adding dialogue.
- For print, check the actual download dimensions and proof it at the intended size; a mockup does not establish print quality.
Frequently asked questions
Is this the same as a comic filter?
A filter mainly changes appearance. An image-to-comic workflow can also propose a story and new scenes. Review those generated details before relying on them.
Can one photo become a multi-panel story?
Yes, the photo can anchor the subject while the brief describes the events. New poses, objects and backgrounds may differ from the source, so inspect each panel.
Is generation free and can I sell the result?
Sign-in, credits and plan limits apply. Check current pricing and terms, and verify your rights to the source image and any recognizable people or third-party material. Payment alone does not clear those rights.
Sources and product policies
How this guide was prepared
Prepared by LlamaGen from its public tool pages and practical production guidance, reviewed November 3, 2026. The briefs are suggested starting points, not measured product tests. Existing artwork and mockups are labeled separately. Generation can change details; model availability, credit costs and output controls depend on the current account and tool. For US copyright questions, consult the US Copyright Office resource below; a paid subscription does not itself establish copyright protection or clear third-party rights.