Problem
Many users do not need a brand-new image; they need to change one thing without breaking the parts that already work.


Edit existing images with AI prompts for outfit changes, style fixes, composition cleanup, character variants, covers, badges, and campaign assets.
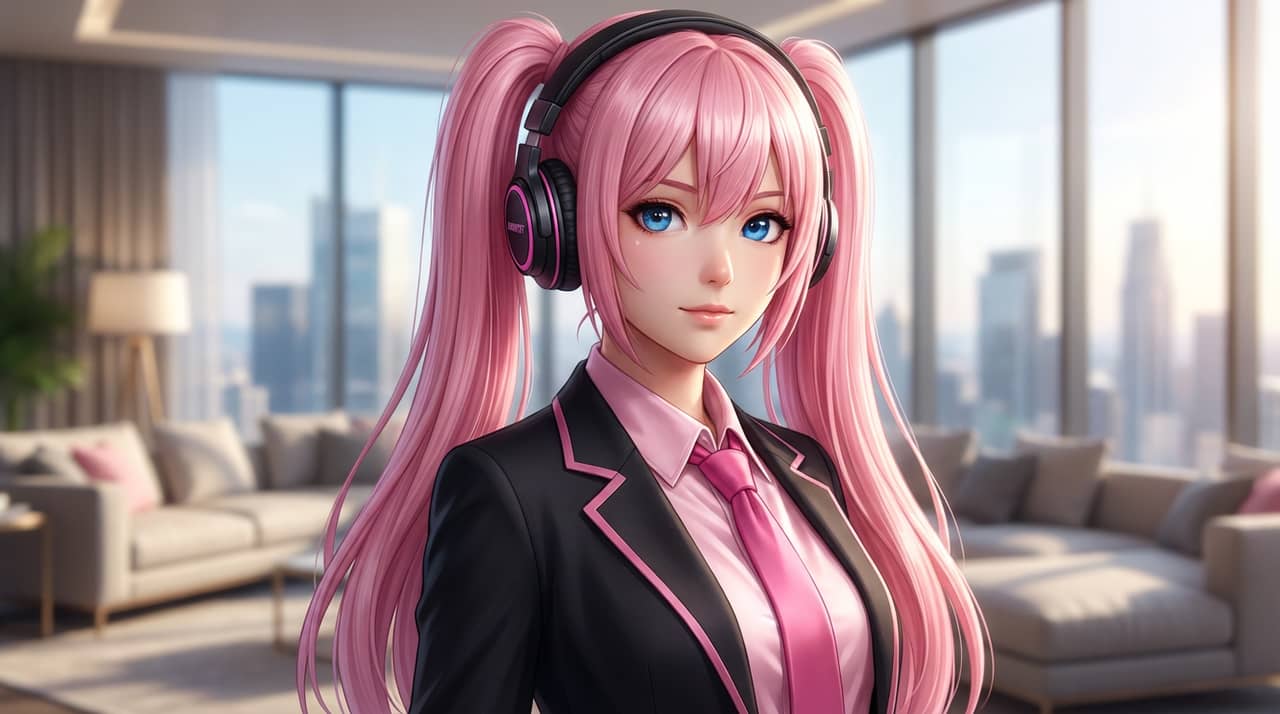
Match your starting point to a clear output, workflow, and quality bar before opening the generator.
Many users do not need a brand-new image; they need to change one thing without breaking the parts that already work.
Outfit edits, style changes, asset cleanup, character variants, social crops, campaign updates, and turning an image into a finished format.
A controlled edit that changes the requested part of an existing image while keeping the subject, style, and composition coherent.
Start with the right input, define the AI image editing output, and check the result before using it in a real project.
Use a text prompt for new ideas or upload a reference image when identity, pose, product shape, or character continuity matters.
Ask for controlled edit area, preserved identity, clean edges, coherent lighting, and one clear requested change. Name what must stay unchanged and what can be redesigned.
Create the image, then check unchanged identity, edit boundaries, lighting match, hands, text artifacts, and final crop before downloading or using the result elsewhere.
Example directions for turning prompts or references into AI image editing outputs.
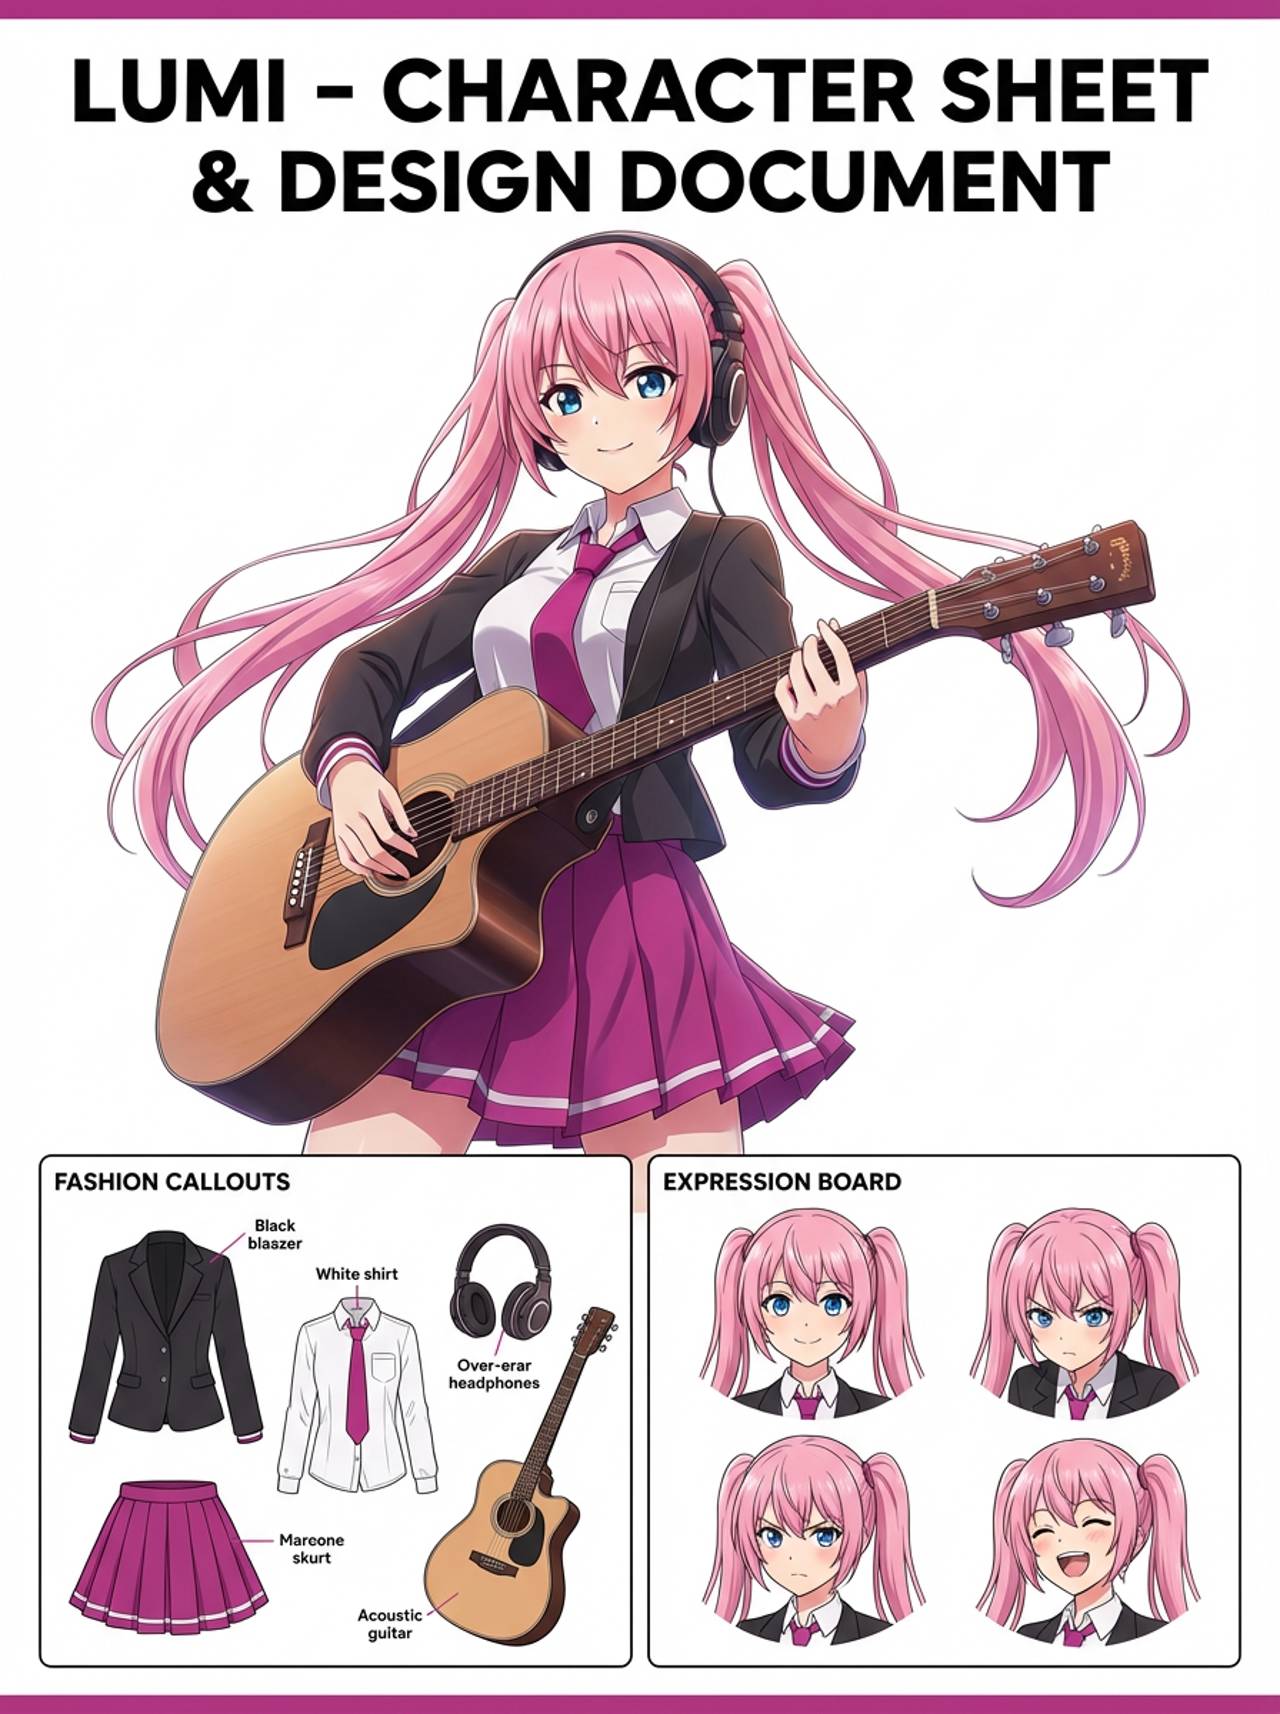
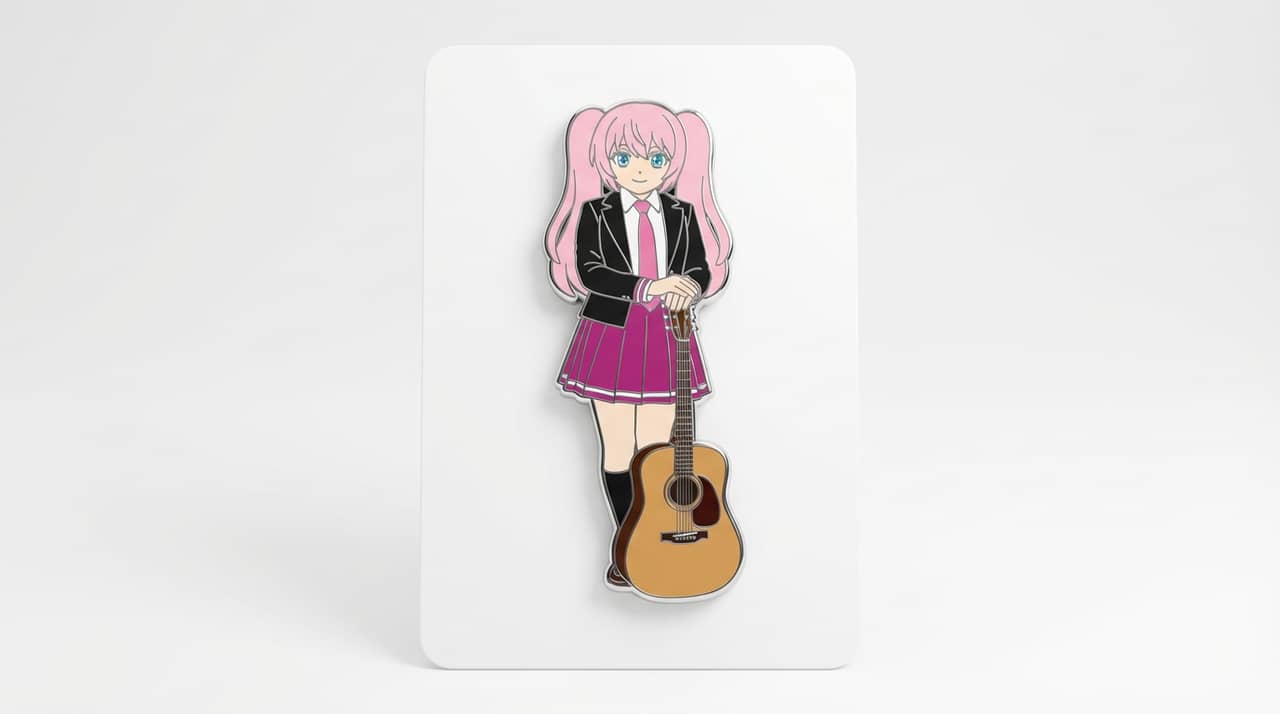

The page focuses on the decisions that make AI image editing outputs usable: input clarity, format constraints, and a practical quality check.
Narrow prompts usually produce better edits than asking for outfit, pose, background, style, and mood changes together.
State which face, product, character details, or brand cues must remain unchanged.
Edit toward the final asset: avatar, cover, card, mockup, thumbnail, comic reference, or social post.
Use these prompts as starting points. Replace the subject, source image, style, and destination with your own project details.
Use my uploaded image as the identity reference. Create AI image editing with controlled edit area, preserved identity, clean edges, coherent lighting, and one clear requested change. Keep the key face, color, outfit, and silhouette details recognizable.
This tells the model what must stay stable before asking it to change the presentation.
Create AI image editing for a revised image that keeps what works and changes only the creative direction you specify. Use a clear main subject, strong composition, and controlled edit area, preserved identity, clean edges, coherent lighting, and one clear requested change.
This works when you do not have a reference image yet but still need a practical output format.
Refine this result into a polished AI image editing. Prioritize unchanged identity, edit boundaries, lighting match, hands, text artifacts, and final crop. Remove distracting artifacts and keep the final image easy to reuse.
This turns a first draft into a more useful asset by naming the quality checks directly.
Before treating an AI result as finished, review whether it solves the real creative job and survives practical reuse.
Compare the result with the source or brief. The face, silhouette, palette, and signature details should still feel intentional.
The image should clearly read as AI image editing, not as a generic portrait with a light style change.
Check crop, negative space, subject scale, and whether the image will work as a cover, icon, card, mockup, or scene.
Inspect hands, edges, fake text, small accessories, background clutter, and repeated patterns before publishing.
A useful image should be easy to crop, edit, reference, or hand off to a collaborator without explaining hidden context.
It can help restyle, reframe, clean up, change outfits, create variants, and prepare images for specific creative formats.
Move to the neighboring workflow when your starting point changes from text, to a reference image, to editing, to video.
These nearby intents help users choose the right workflow instead of landing on a page that only half-matches their need.