

Beginner guide · No drawing skills required · November 2026
How to make manga without drawing
You do not need to be an illustrator to begin telling a visual story. You do need a clear premise, recognizable characters and a plan for how readers move from panel to panel. This guide walks from a short idea to a reviewed manga sequence using an AI-assisted approach.
The short version
Make deliberate creative choices. Review the results.
Your first goal is three coherent pages—not a perfect 100-page book. Plan the story, guide the visuals, and read the results like a reader before expanding.
The pages shown here are original LlamaGen example artwork, not output guarantees for your prompt or plan.
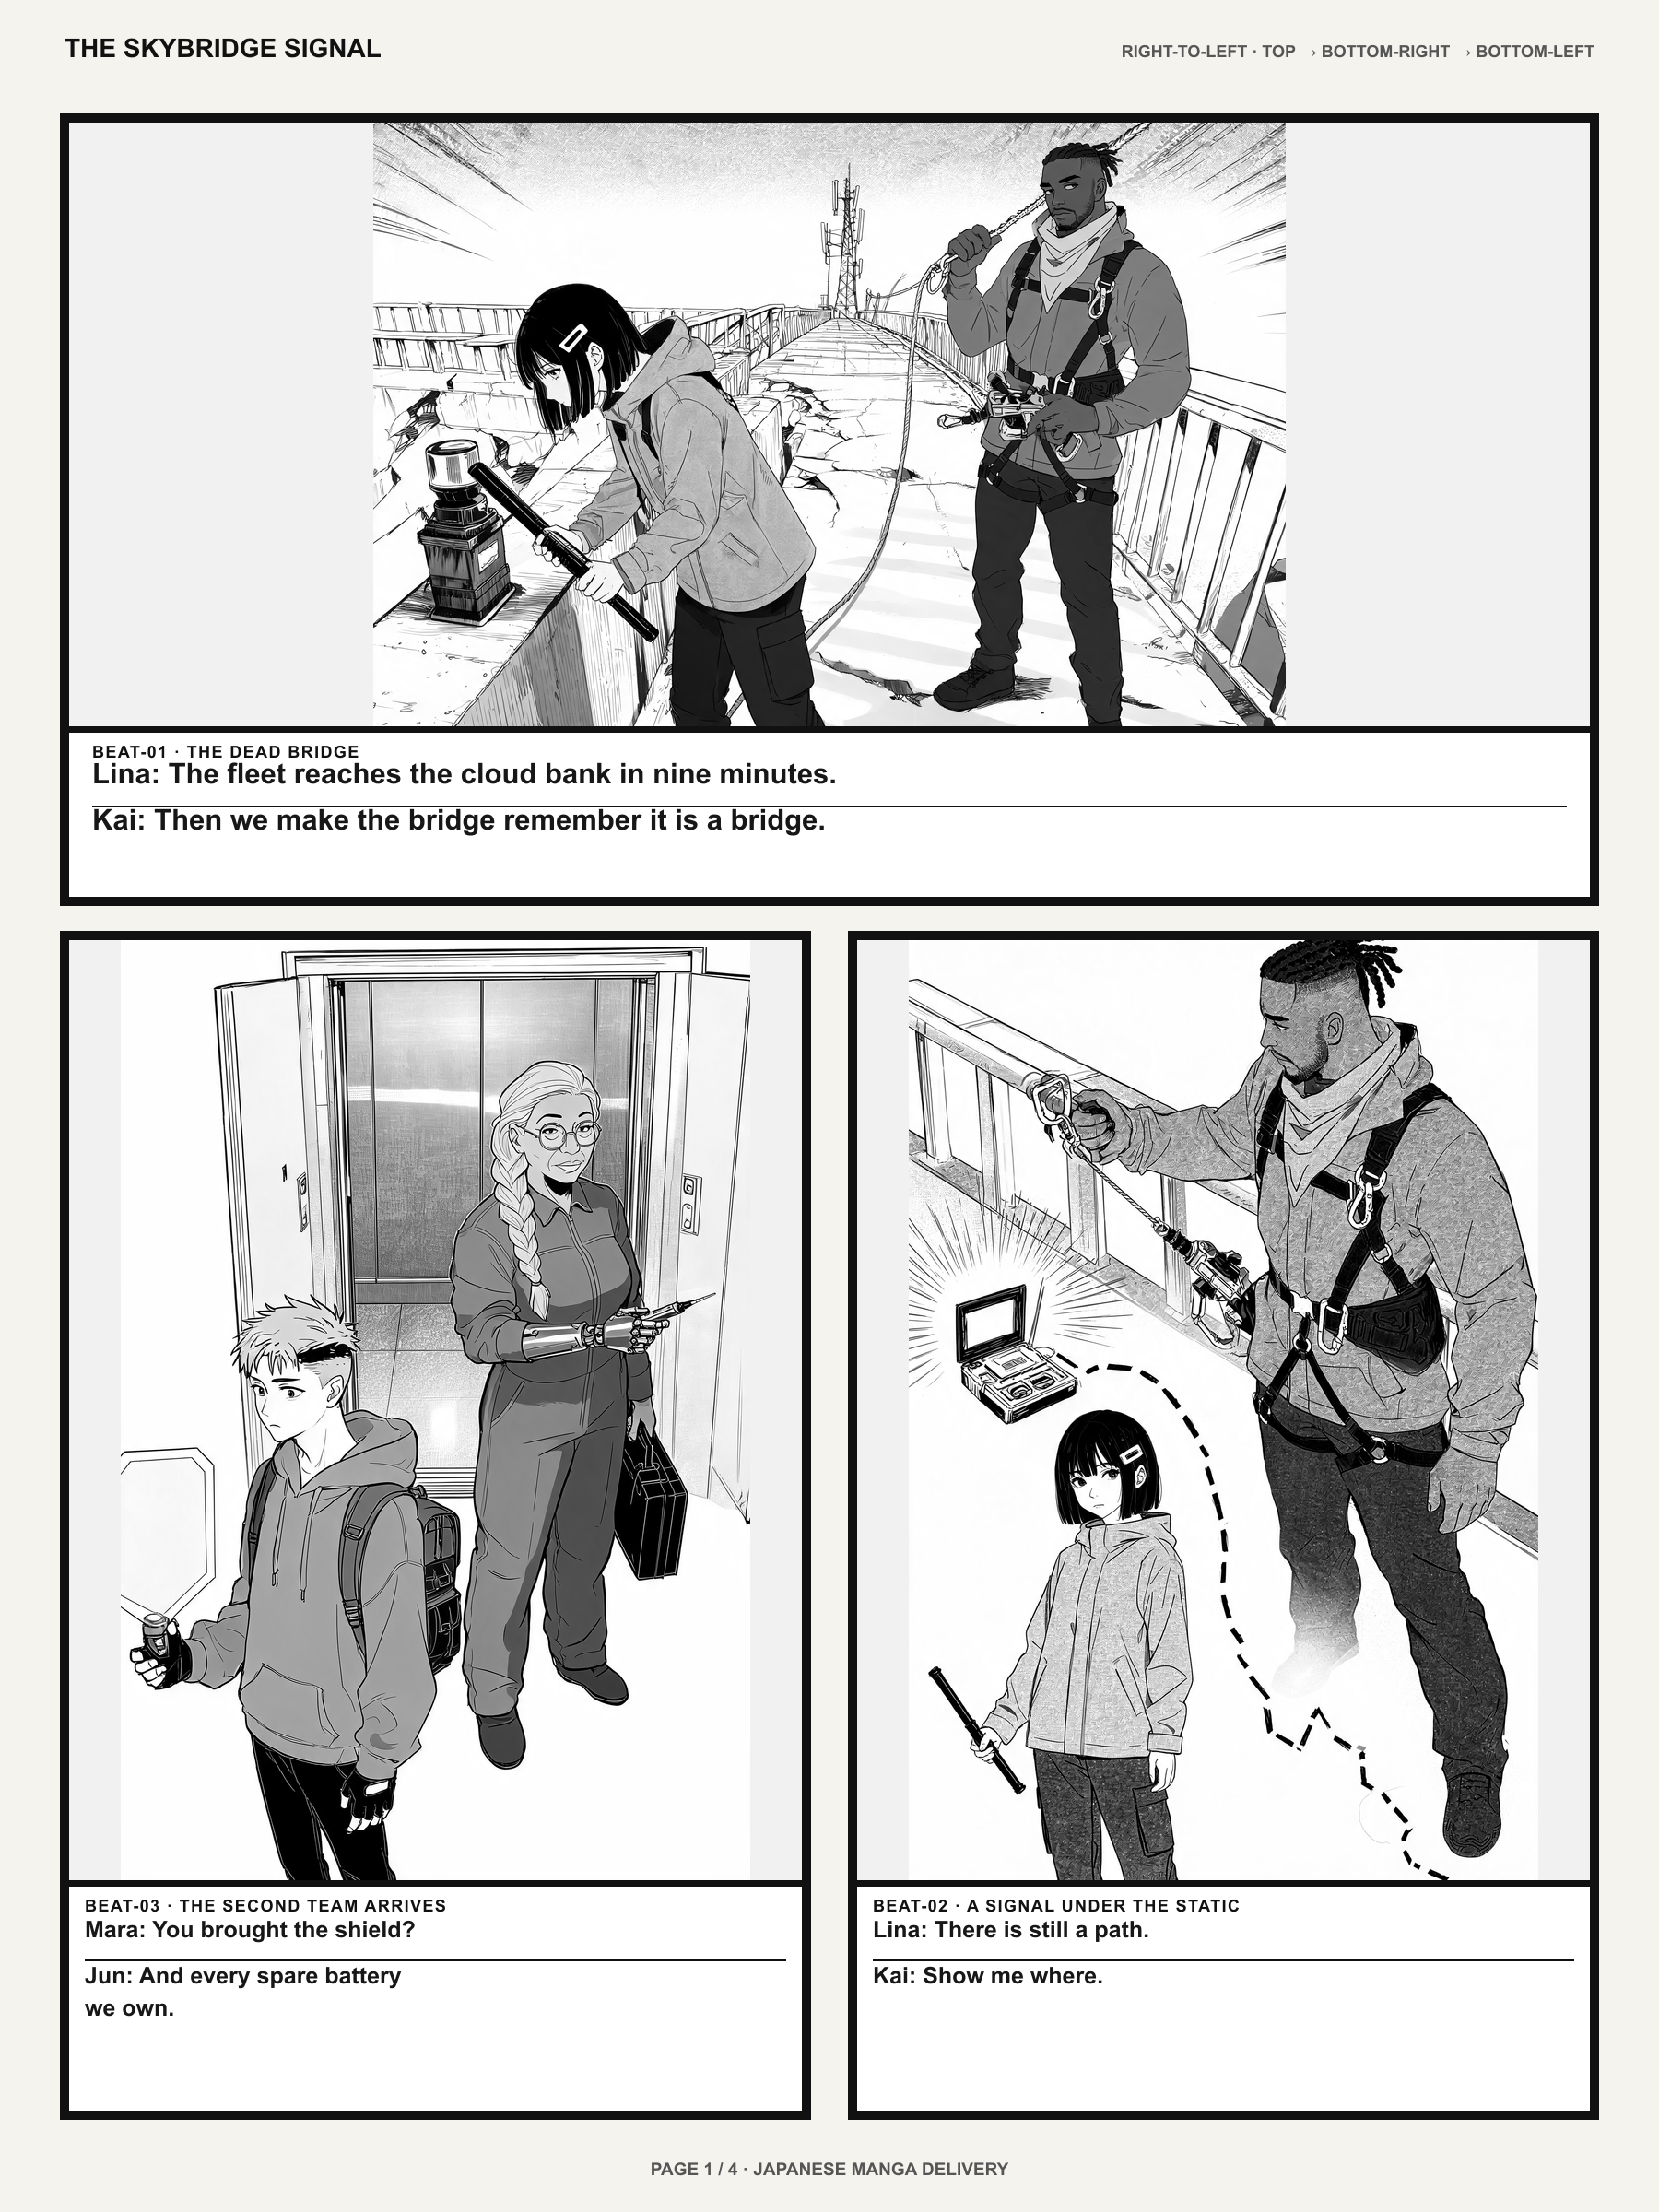
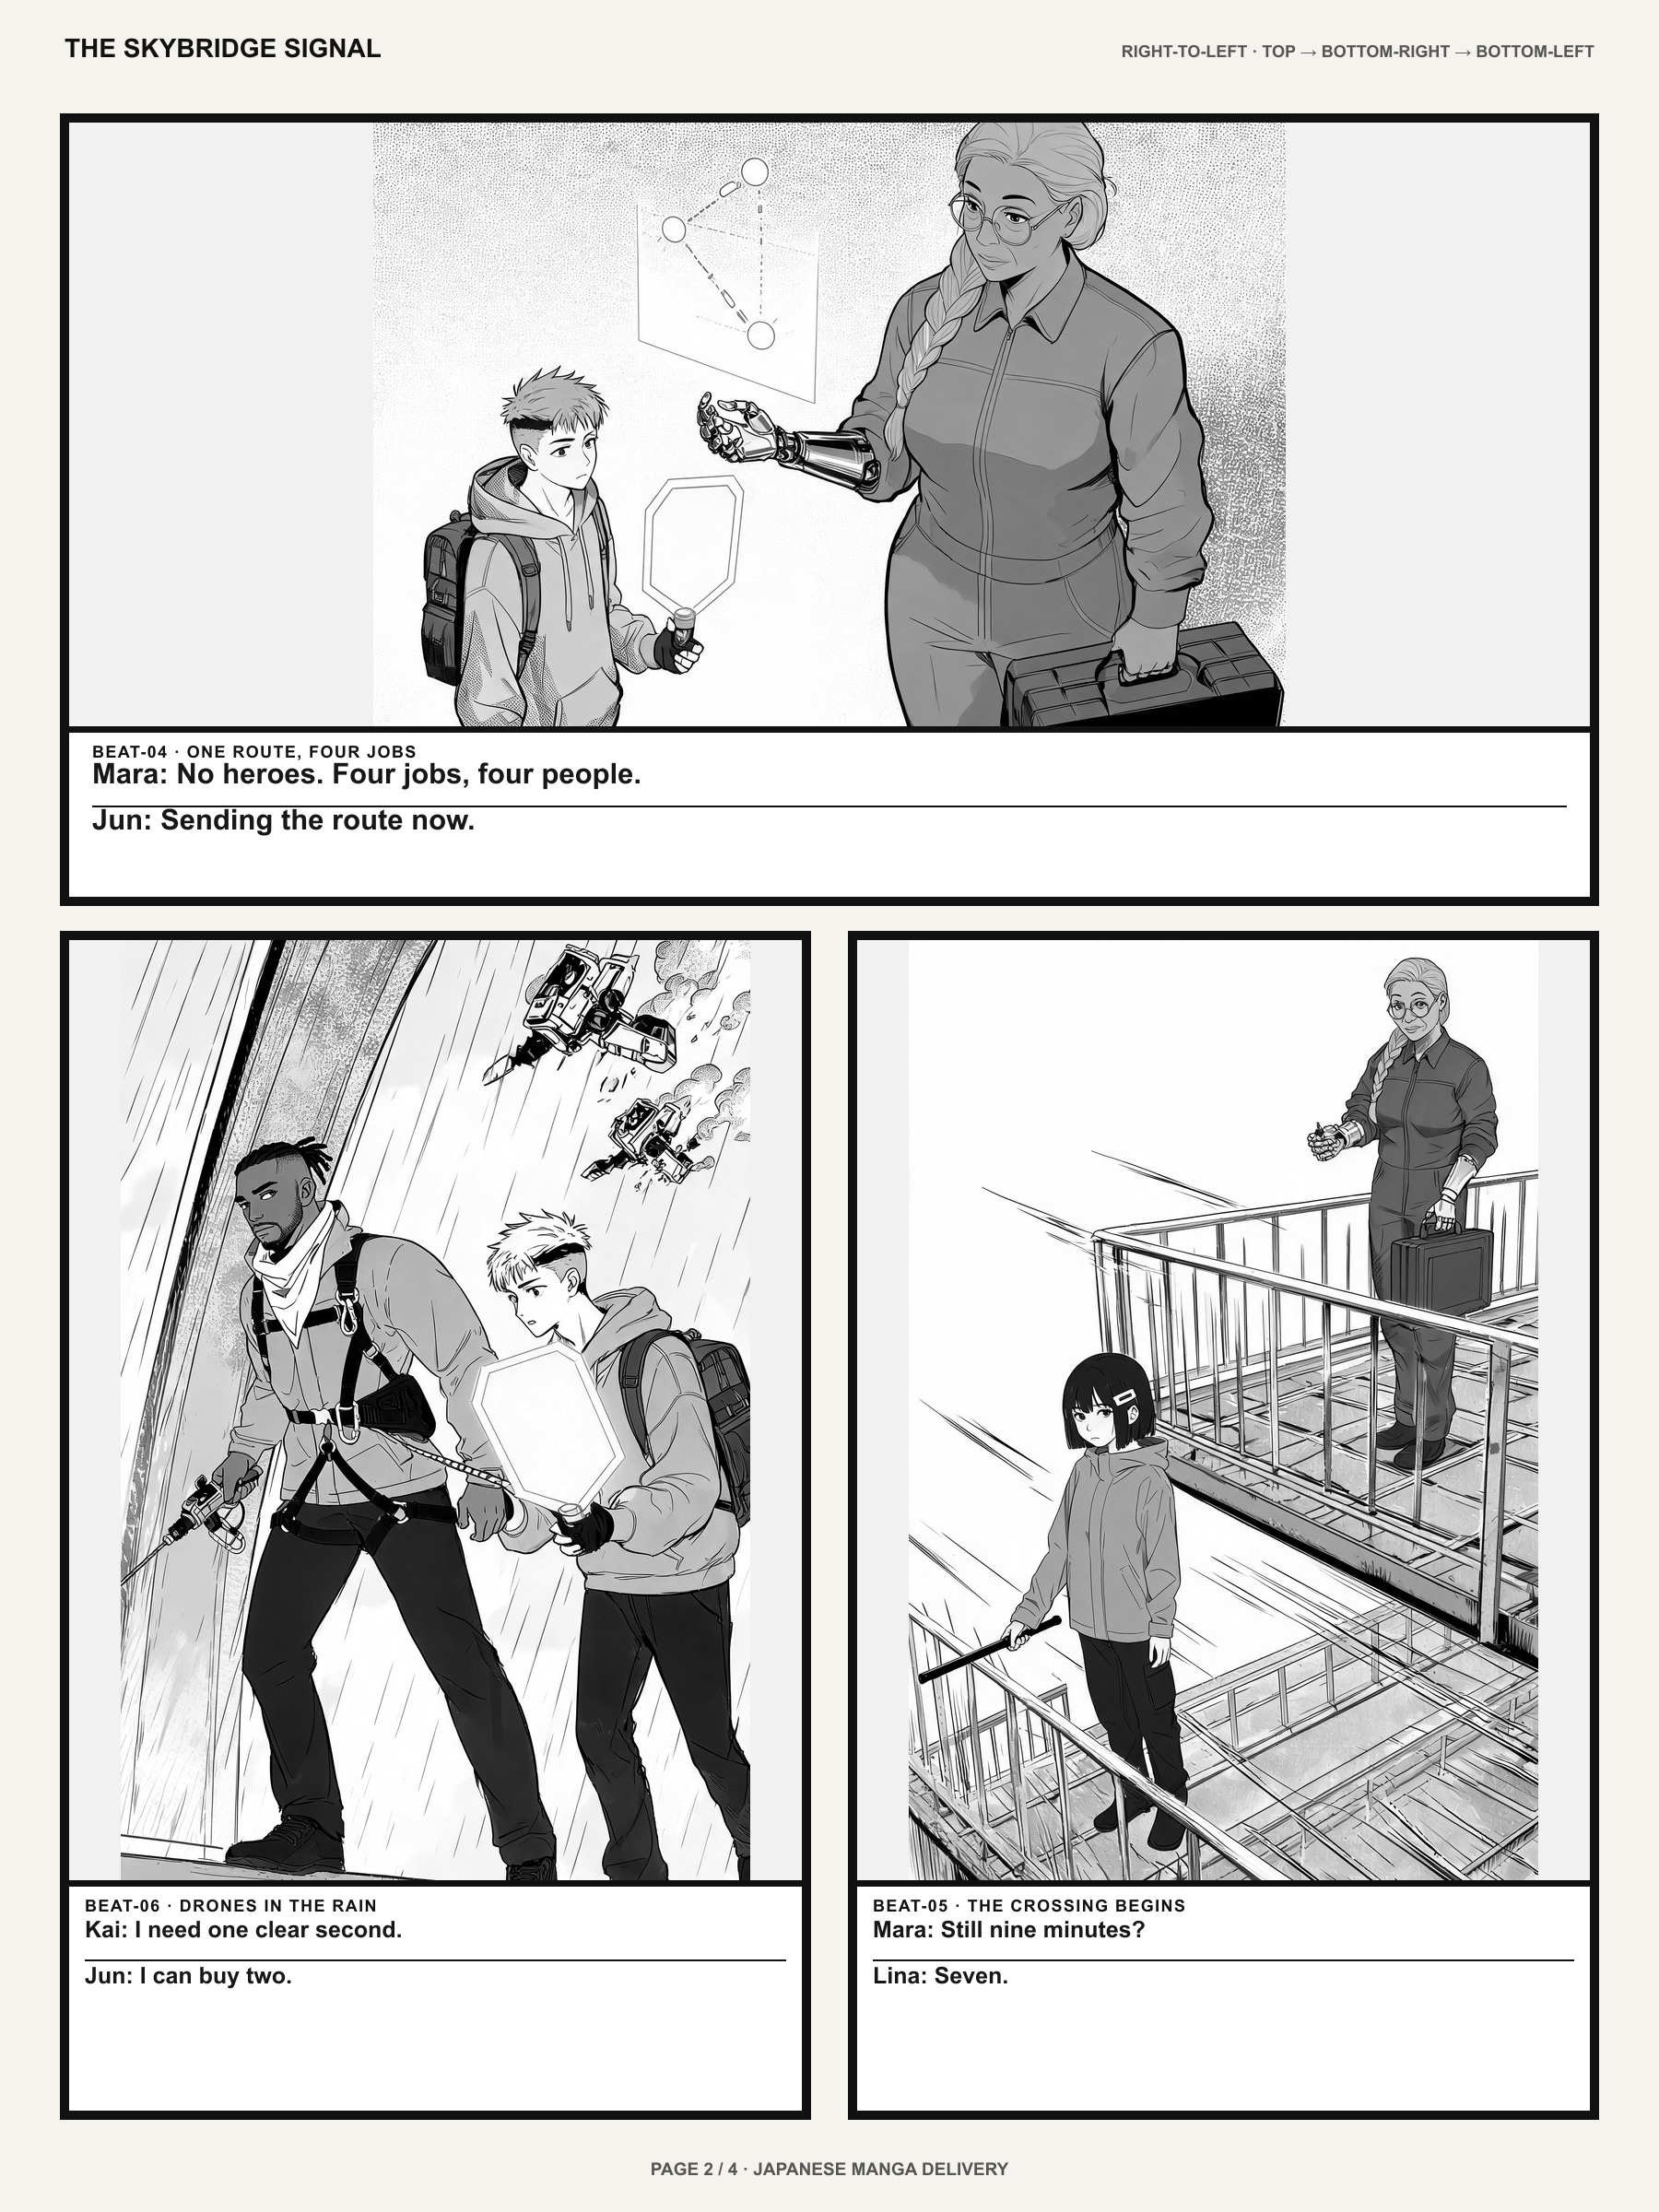
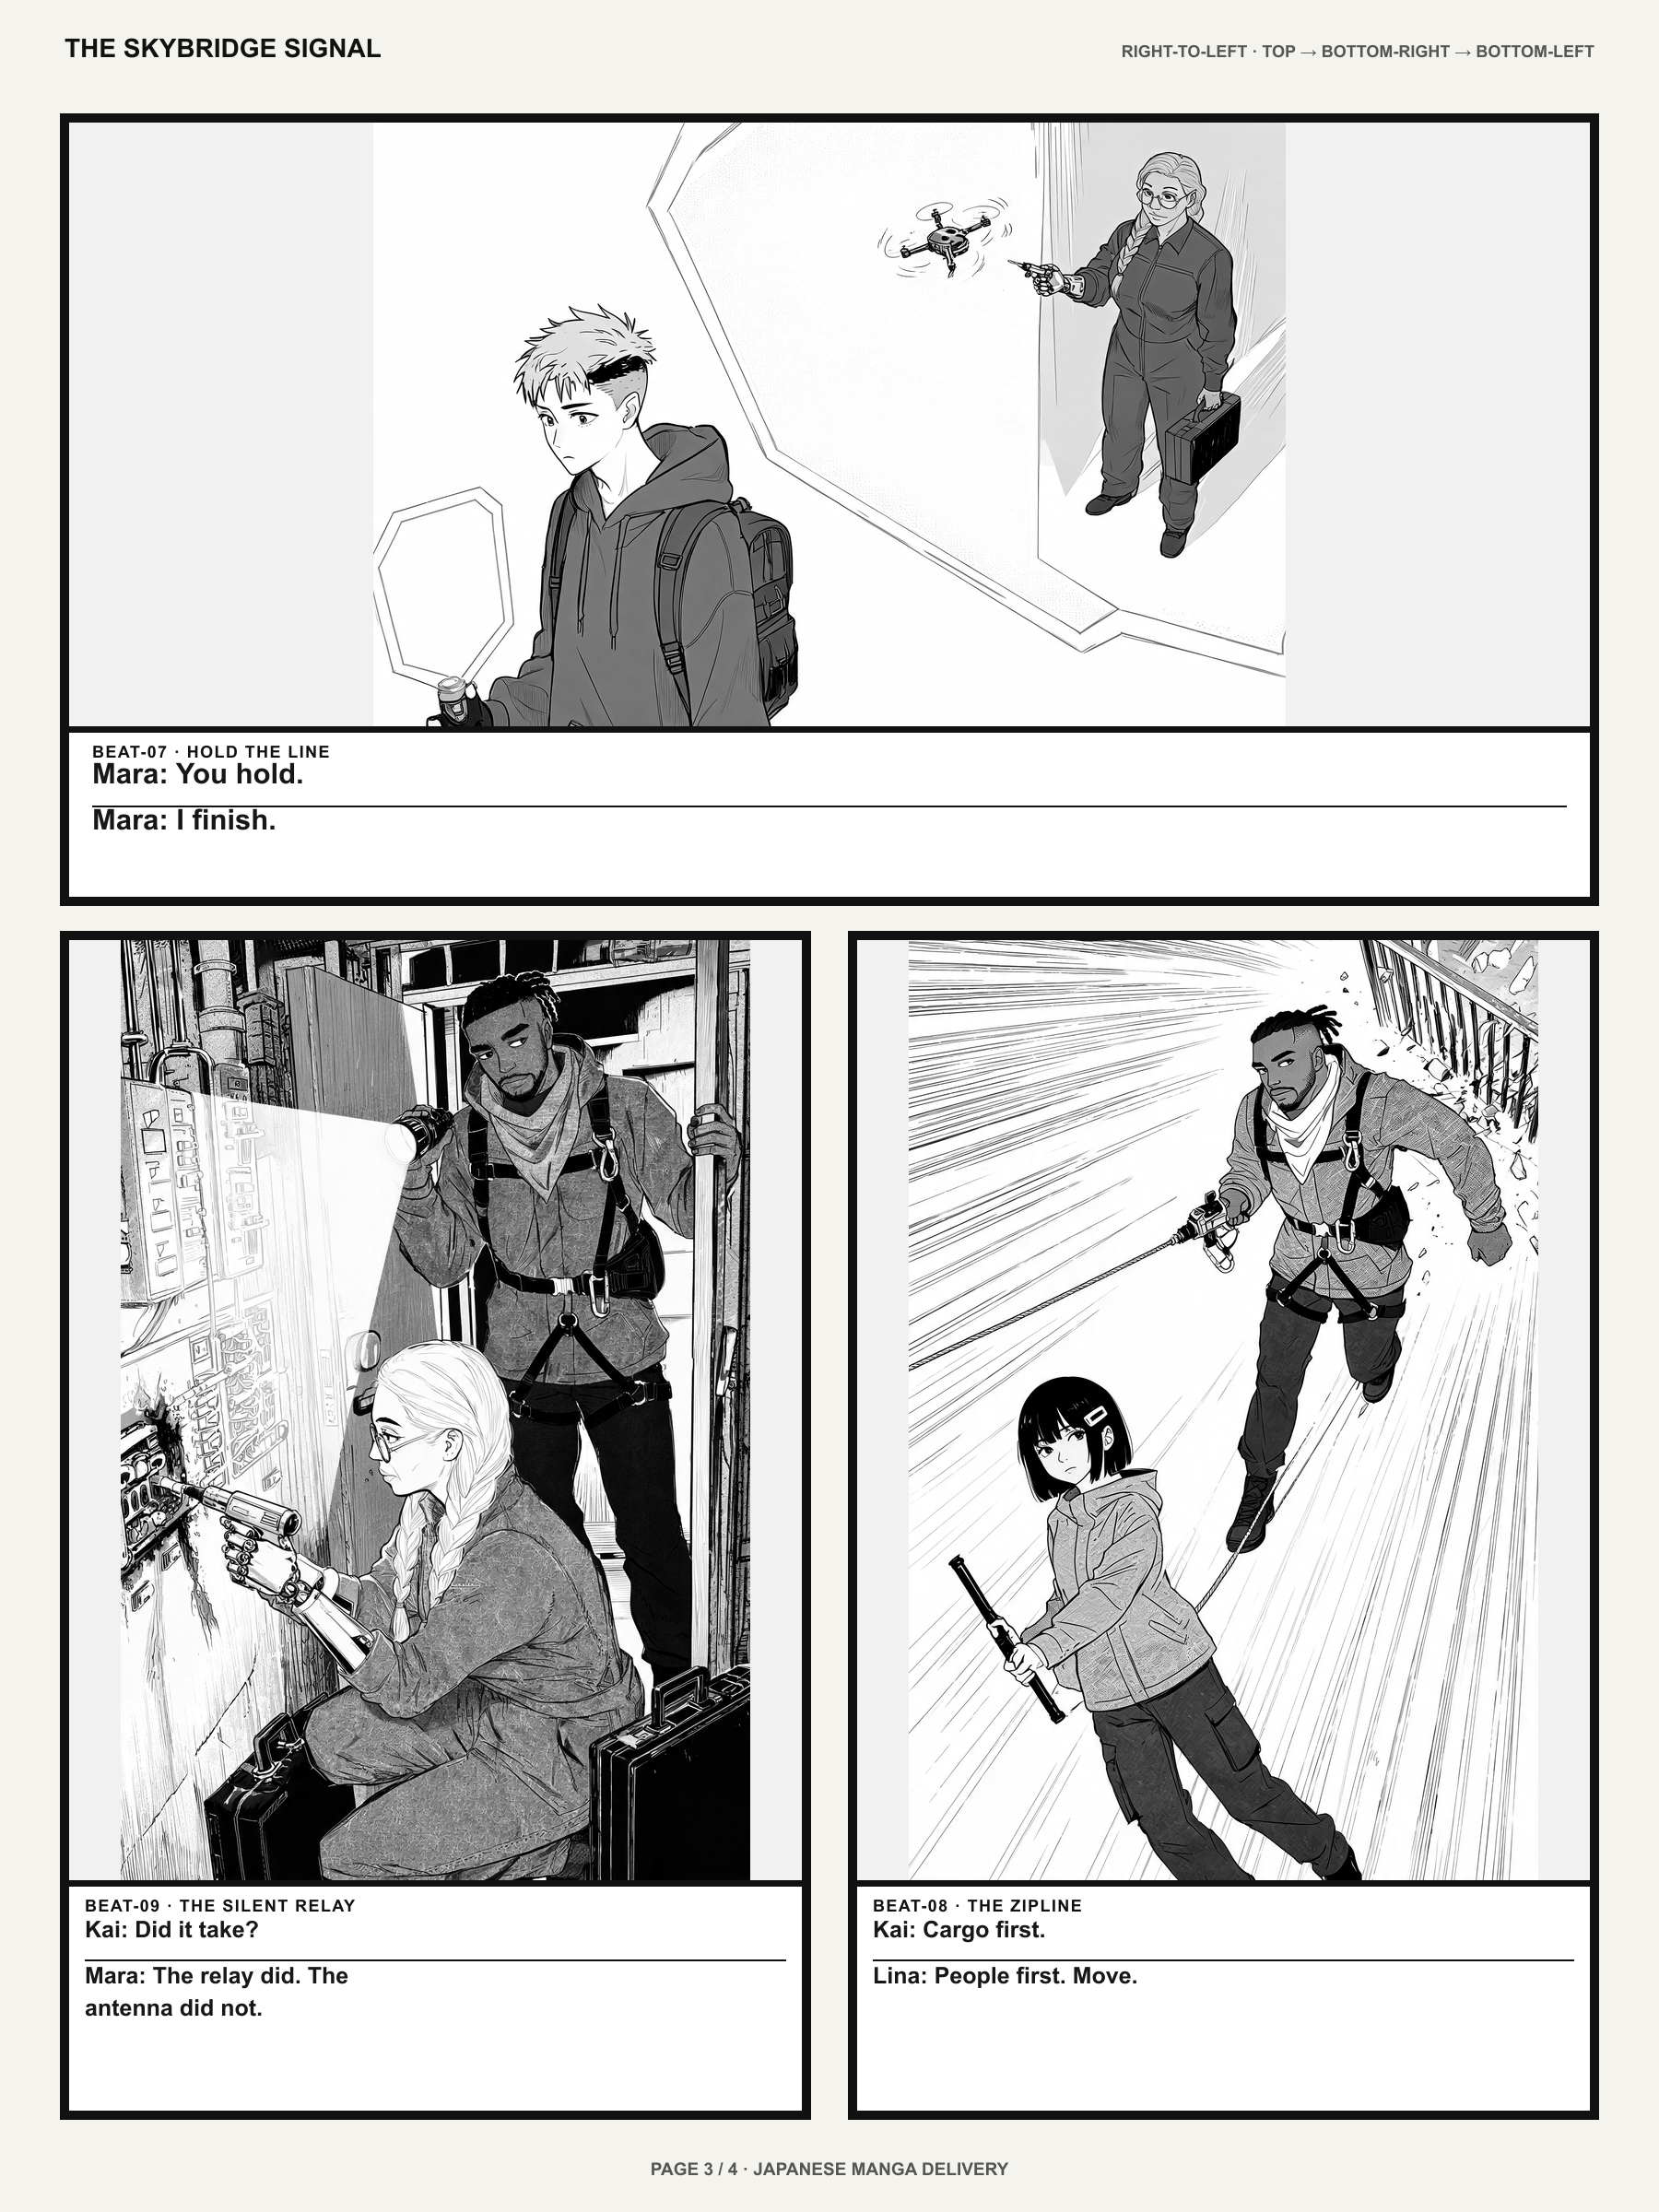
1. Start with a one-sentence story, not an art style
Try this original premise: ‘At the final train station on a flooded planet, a young repairer discovers that one last departure is carrying letters from people who disappeared years ago.’ Decide what the lead wants, what changes and what readers should wonder about at the end.
A premise works when you can picture an opening shot, a small obstacle and a reveal. Write those three beats before exploring hairstyles, ink effects or page dimensions. You can change the artistic treatment later without losing the core of the story.
Quick checklist
- One original lead character
- One visible goal or conflict
- One scene-ending question
2. Make a character card that survives scene changes
Describe identity cues that should remain stable: hair shape, facial features, silhouette, outfit colors and a signature item. For example: ‘Mira, late teens, short dark bob, square safety goggles, orange waterproof coat, mechanical satchel.’ Then describe emotions or poses separately for each scene.
If your chosen workflow accepts original character references, attach an approved image when prompted. Do not assume references make every generation identical. Compare neighboring pages, and keep a separate note of any approved outfit change.
3. Split the first scene into readable beats
Write an opening page with the flooded station, a second page where Mira finds the letters, and a third page revealing a name she knows. Specify what each page must communicate and where the reveal belongs; a sequence of beautiful but unrelated images is not a manga chapter.
Keep dialogue short enough to fit inside the art. If the story relies on one line of text, write that line explicitly and verify it later. You will still need to check reading order, bubble placement and correct speakers after generation.
Quick checklist
- Page 1: establish place and goal
- Page 2: introduce discovery or conflict
- Page 3: end on a reveal or choice
4. Draft the scene in the Mangaka workspace
Open Mangaka and choose the creation path available to your account. Enter your original story, select a visual direction and review the page and chapter controls offered by the product. Add references when eligible, and check plan access and estimated credit consumption before submitting a generation.
A free account may have fewer pages, characters or generation options than a paid plan. Do not assume ‘no drawing required’ means unlimited free output. Start small enough that you can evaluate the result and revise your written brief before requesting more pages.
5. Read the pages together before editing details
Review the first image for establishing context, the middle for cause and effect, and the last for an understandable reveal. Are the protagonist's eyes, hairstyle and coat still recognizable? Does the same object move logically through the scene? Can you follow speech bubbles at actual phone size?
Prioritize missing story beats and wrong characters ahead of small background imperfections. Edit or regenerate only where the live workspace permits it, and verify possible credit charges. Manual caption correction may still be needed for publication-ready lettering.
6. Finish, verify rights and share
Check spelling, captions, dialogue speakers and the intended reading direction. Preview at the real display width. Verify that you own or have permission to use the character designs, reference files, and other materials. Follow the product's current export options rather than assuming every print or ebook format is supported.
Keep the original premise, cast notes and approved visual direction. Those three artifacts are the foundation for the next scene and the easiest way to detect continuity drift when your story grows into chapters.
Quick checklist
- Dialogue and names proofread
- Consecutive-page continuity checked
- Rights for every reference confirmed
- Export previewed at reading size
Your story, your direction
Turn your idea into pages.
Bring your original brief to Mangaka. You can inspect available tools, sign-in requirements, plan eligibility and credit costs before you commit to generation.
Create with MangakaFrequently asked questions
Can someone who cannot draw make a manga?
Yes. Story planning, character design briefs and AI-assisted page drafts make it possible to begin without traditional drawing. You still need to review visual continuity, composition and dialogue.
Is AI manga creation free?
Free access and credits may be available, but limits vary by account, region, creation mode and plan. Review current eligibility and the credit estimate in Mangaka before generating.
How do I keep the same character across pages?
Use stable identity notes and original references where supported, then compare adjacent pages for face, wardrobe and prop consistency. No prompt guarantees perfect continuity.
Can I publish a manga made with AI?
Publication depends on the rights to your input materials, the applicable product terms and local rules. Avoid unauthorized third-party characters or artworks, and proofread the final pages.
Explore the Mangaka workflow
Mangaka tools & software
Pick the right mix of AI and drawing tools.
AI manga prompt templates
Copy original story briefs for multiple genres.
Consistent manga characters
Keep recurring cast details stable across pages.
Manga script to panels
Plan each page turn and scene beat.
Meet LlamaGen Mangaka
See the product workflow and real examples.