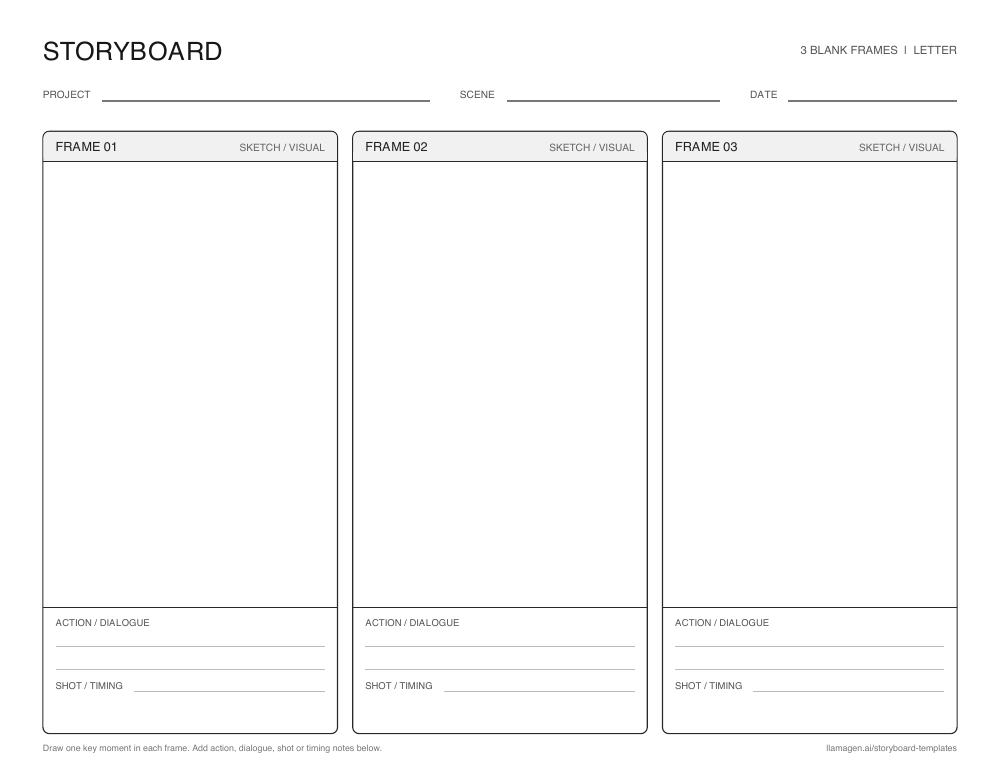
Blank 3-panel storyboard template
A beginning, middle, and end layout for reading responses, short scenes, and first drafts.


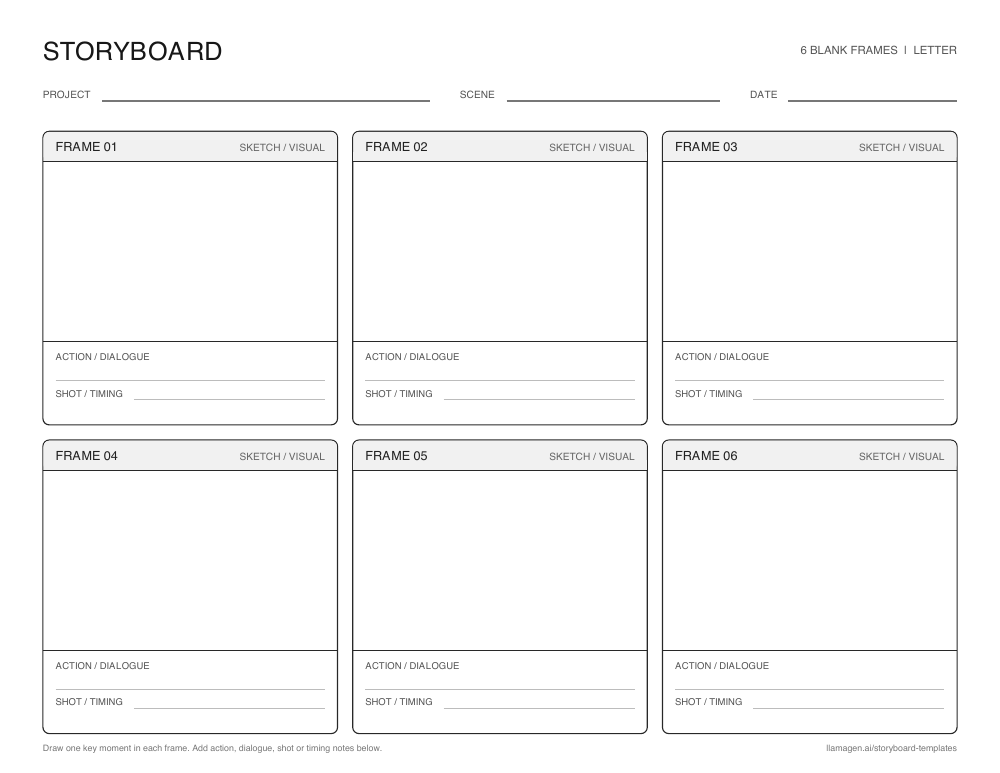
A storyboard template is a ready-made set of frames for planning what happens in a story, video, lesson, or animation. Draw or place one important moment in each frame, then add a brief note so the sequence is easy to follow.
The blank worksheets below give you room to sketch by hand. Digital templates offer a visual starting point when you want to build the sequence online. Both help you see the order of events before you commit to finished artwork or video.
New to storyboarding? Learn what a storyboard is, or start creating one.
A frame grid turns a broad idea into smaller visual decisions. It helps you catch missing steps, unclear transitions, and uneven pacing early.
A three-frame sequence works for a short beginning, middle, and end. Six frames give you more room for actions and camera changes. The visual style can stay rough until the story is clear.
A shared visual plan makes feedback more concrete. Students, collaborators, or production teams can discuss the same frames before drafting, filming, or finishing art.
Younger students can illustrate the beginning, middle, and end of a story. Older students can first map the story arc with a plot diagram, then storyboard its key scenes. The same frame grid can explain a science process or compare moments in a historical event. Notes beneath each frame leave space for evidence, dialogue, or reflection.
Free printable layouts
Download a three-frame or six-frame worksheet with space for a sketch, action or dialogue, and shot or timing notes. Choose US Letter or A4 paper and print in landscape orientation.
A beginning, middle, and end layout for reading responses, short scenes, and first drafts.
Six frames for a longer classroom sequence or a shot-by-shot video plan.
Prefer a digital board? Create a storyboard online.
From frames to a shoot
A storyboard shows the composition. A shot list gives the crew one row per shot: what to capture, its planned screen time, what to hear, and what must stay consistent. Use these editable CSV files alongside the three- and six-frame worksheets above.
Template and example by LlamaGen · Updated · Suggest a correction
Free downloads; no LlamaGen account needed. The blank file has 12 numbered rows; the filled file has six shots. Both have the same 10 columns. Open or import them in a spreadsheet, then use its print or PDF option.
This original six-shot editorial example is a planning exercise, not a filmed customer project or a generated video. Durations are planned time in the final edit, not time to record each shot. They total 30 seconds before transitions; read the dialogue aloud and revise the timing before shooting. Number the six blank worksheet frames 1–6 to match these shots.
Scroll to see all 10 columns, including Setup and Done. Done is left blank until a shot is captured.
| Shot | Scene | Duration (s) | Framing | Action | Camera / movement | Audio | Continuity / reference | Setup | Done |
|---|---|---|---|---|---|---|---|---|---|
| 1 | Repair cafe | 4 | Wide | A volunteer welcomes a visitor carrying a red lamp | Eye level; locked | Room tone | Blue apron; lamp stays in visitor's hands until shot 2 | A | |
| 2 | Repair cafe | 5 | Close-up | The visitor sets the broken red lamp on a marked spot | Table height; locked | Lamp placed on wood | Match the visitor's hand from shot 1; keep unplugged cable visible | B | |
| 3 | Repair cafe | 5 | Over-the-shoulder | The volunteer points to the unplugged cable | From visitor side; locked | We can repair this together | Keep the lamp on its mark; stay on the established side of the table | C | |
| 4 | Repair cafe | 6 | Insert | Show hands working on the unplugged lamp | Overhead; locked | Tool sounds | Prop-only staging; no live electrical work | D | |
| 5 | Repair cafe | 6 | Medium two-shot | The visitor smiles as the lamp lights up | Eye level; gentle push | Music resolves | Same blue apron and lamp mark; battery-powered prop effect | E | |
| 6 | Repair cafe | 4 | Wide | Hold on the lit lamp and a clear corner for a closing title | Same wide position as shot 1; locked | Voiceover: Bring one thing back to life | Stage the finished story state; leave title space on frame right | A |
For a larger shoot, add location, lens and crew fields as needed. Put call times, travel and setup time in a schedule or call sheet; the Duration column here only describes the intended edit.
Take a reference of the apron, hand position and lamp mark before changing angles. If shot 3 needs more dialogue time, update that row and rebalance the total; adding time to one shot changes the 30-second plan.
For drawn panels becoming motion rather than a live shoot, use the comic-to-animation shot guide.
Open the downloaded CSV. If an import wizard appears, choose Delimited, select Comma and keep Unicode (UTF-8) with the double-quote text qualifier. If the file opens in one column, use the text/CSV import option with those settings. See Microsoft’s CSV opening guidance.
Open a spreadsheet, choose File → Import and select the CSV. Choose Insert new sheets to keep existing sheets, then select Comma as the separator. See Google’s import instructions.
Check for 10 separate headers, from Shot through Done. The filled example has six data rows and a 30-second duration total. CSV carries values, not workbook formulas or formatting; native XLSX files, a PDF download and account integration are not included.
Production reference: Adobe’s guide to making a shot list covers shot numbering, camera setups and audio notes. The repair-cafe story and CSVs above are LlamaGen’s own planning example; these references do not review or endorse this template.
For shot 3, adapt this note using your approved character and prop references:
Over-the-shoulder at the repair cafe. The volunteer points to the unplugged cable. From visitor side; locked. Continuity: Keep the lamp on its mark; stay on the established side of the table.
Copy your approved shot notes into the creator. This download does not automatically import a spreadsheet; generation and export depend on the selected workspace and account.
Compare comic and animation boards with pencil, lo-fi, and manga-inspired visual styles. Each card opens its matching template page.
Showing 32 of 32 templates
 Premium
Animation
 Free
Sketches
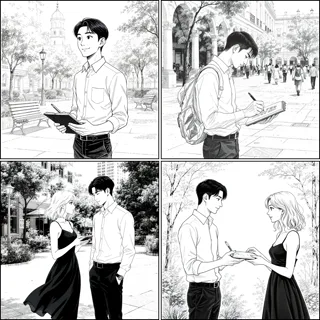 Premium
Film and video
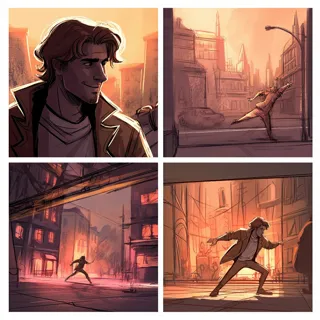 Premium
Animation
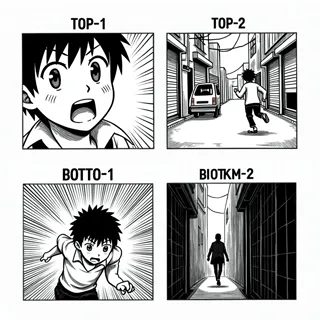 Premium
Manga
 Premium
Blank layouts
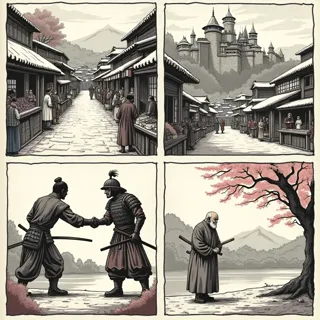 Premium
Comics
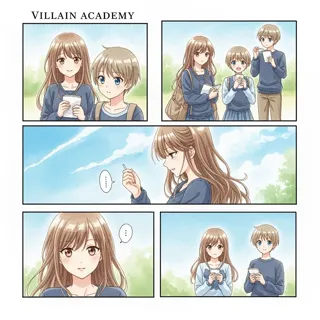 Premium
Comics
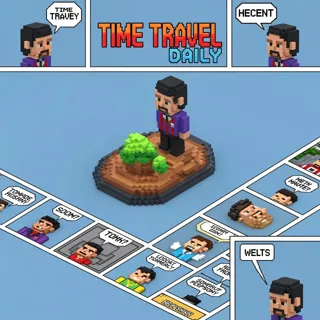 Premium
Animation
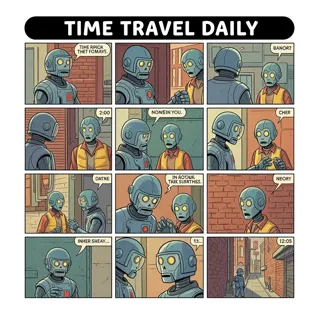 Premium
Animation
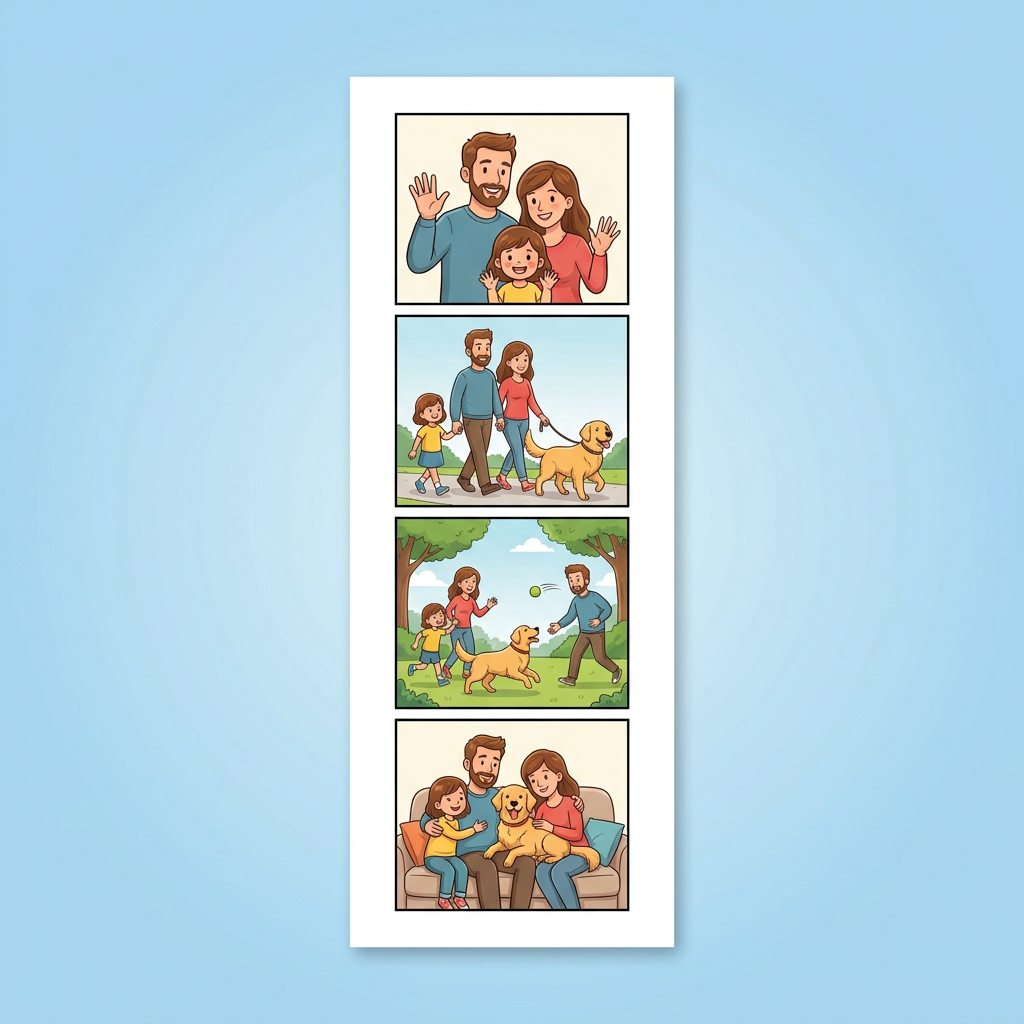 Free
Personal stories
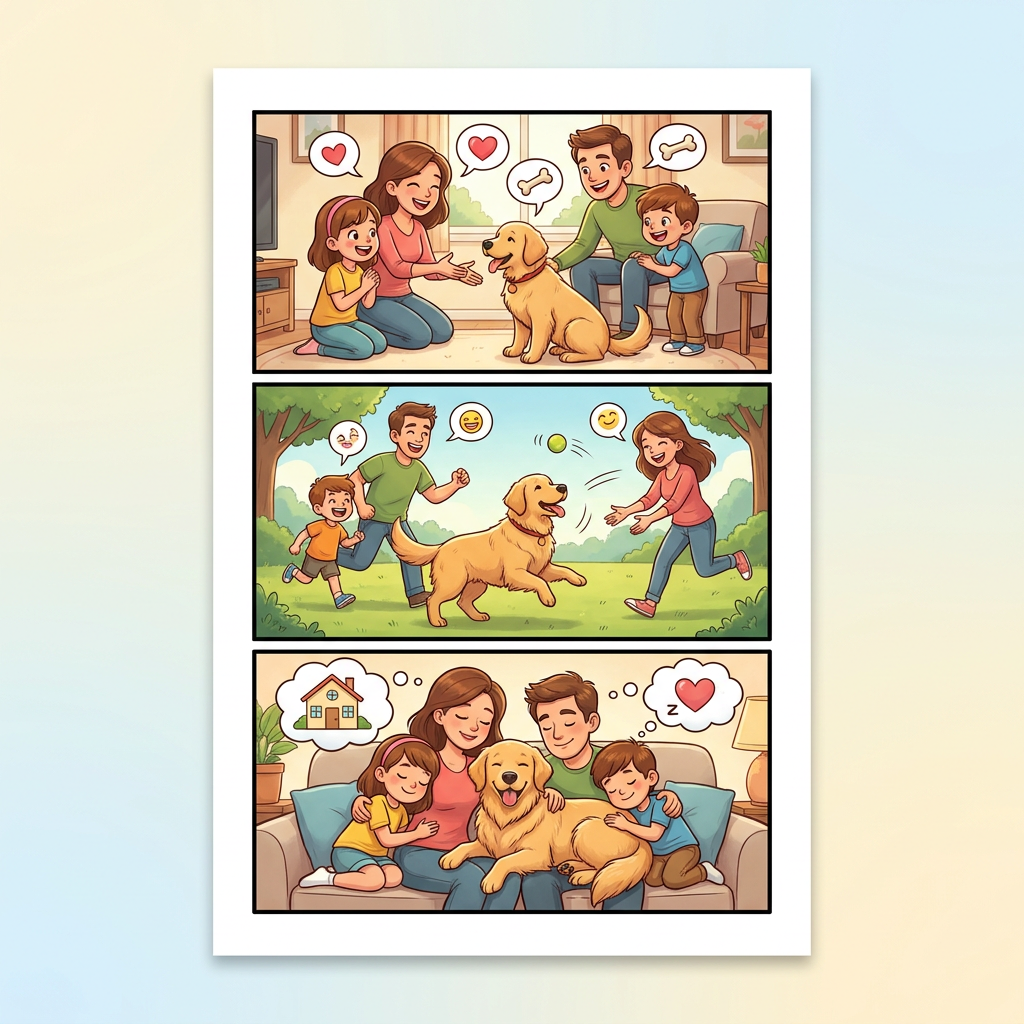 Premium
Personal stories
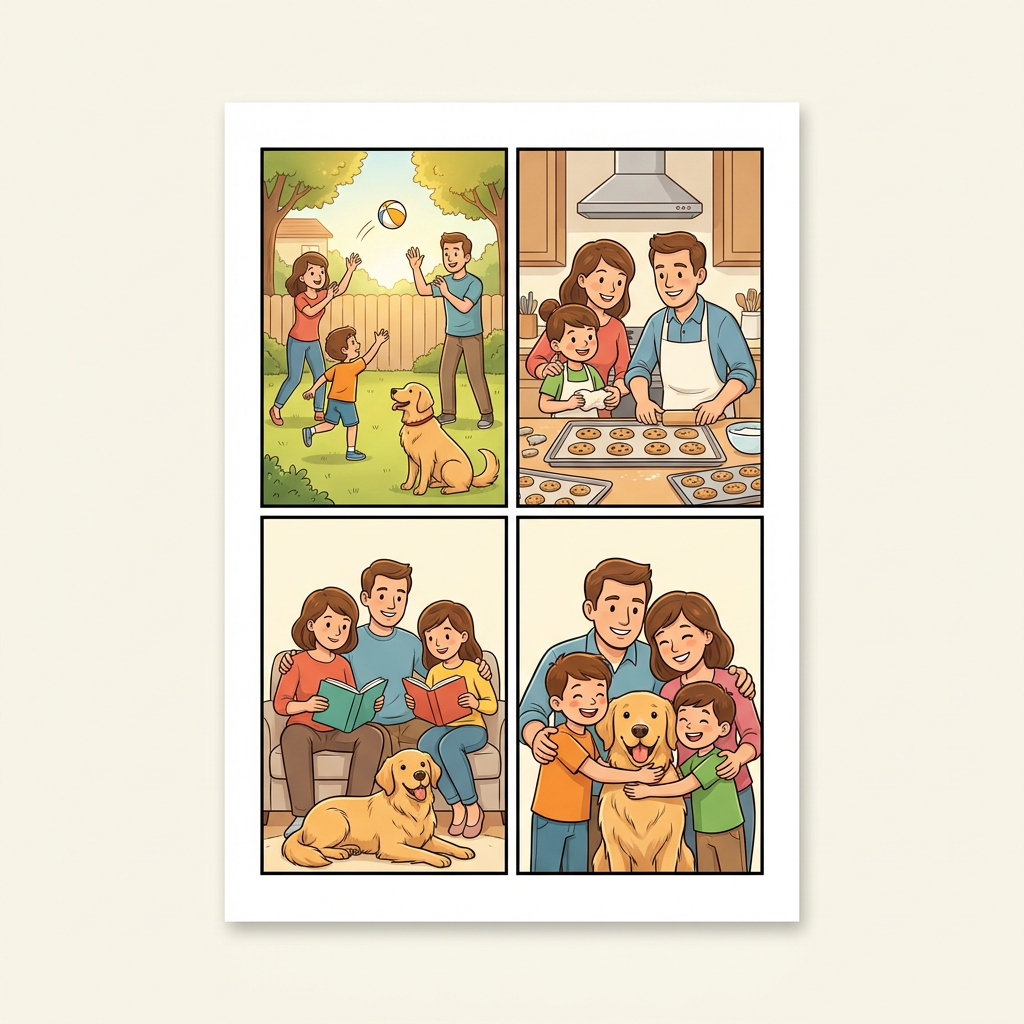 Premium
Personal stories
 Premium
Film and video
 Free
Comics
 Premium
Comics
 Premium
Comics
 Premium
Business
 Premium
Business
 Free
Story examples
 Free
Story examples
 Premium
Manga
 Premium
Business
 Premium
Manga
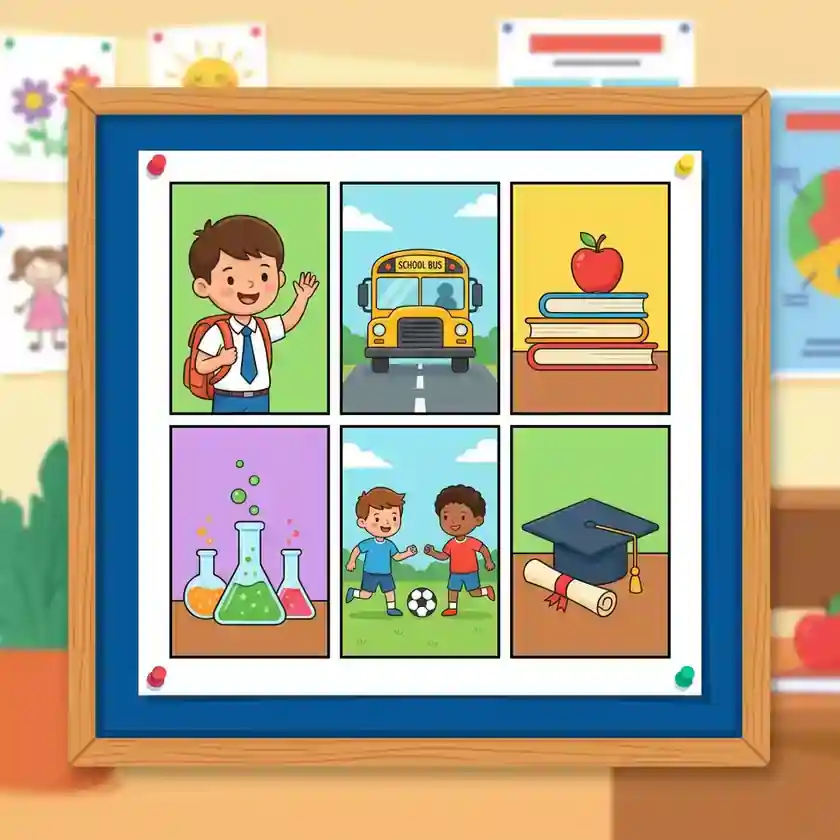 Free
Education
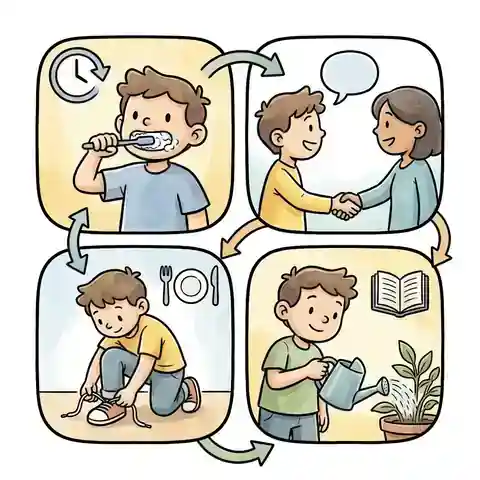 Free
Education
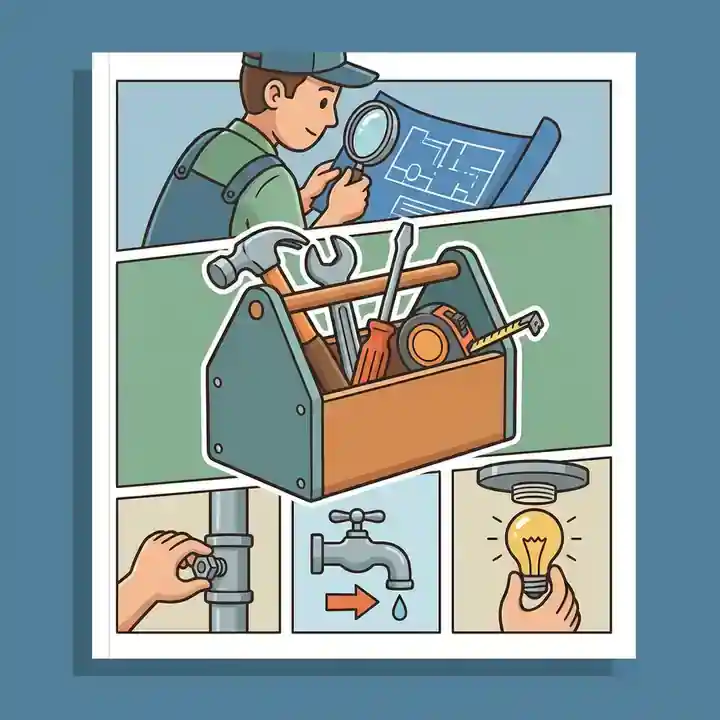 Free
Education
 Premium
Animation
 Premium
Film and video
 Premium
Animation
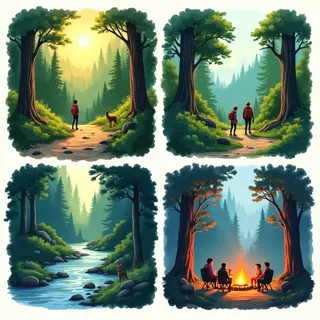 Premium
Animation
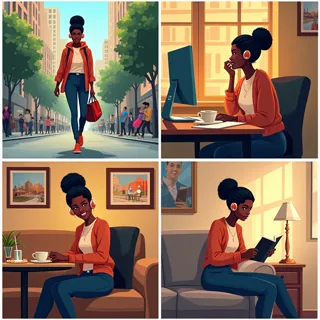 Premium
Film and video
Compare each preview, then open the template that fits the sequence you want to explore.
Storyboard basics
A storyboard is a visual graphic organizer made from a sequence of drawings or images. Each frame captures one moment. Together, the frames reveal the order, pacing, and visual flow before you make the final work.
A storyboard template gives that sequence a ready-made structure. Use the blank frames above for hand-drawn planning, or browse the visual style templates to start digitally.
Useful notes can include action, dialogue, camera angle, sound, or timing. Keep them short enough that someone else can follow the idea at a glance.
See a complete three-frame example in our guide to storyboards.
The same frame grid can guide a lesson, a shoot, or a visual story. Change the notes beneath each panel to match your project.
Ask students to show three key events in a story, six steps in a process, or a visual explanation of a history or science topic.
Plan the order of shots, camera framing, action, and timing before recording or editing a scene.
Test the rhythm of a visual sequence before committing to finished panels or animated frames.
Map a short message from opening hook to final call to action so each frame has a clear purpose.
Start with the main moments. Simple sketches and clear notes are enough to test whether the sequence makes sense.
Print three panels for a short idea or six panels for a longer sequence. Digital creators can choose a visual template in the gallery.
Sketch one meaningful moment per panel. Add action, dialogue, shot, or timing notes under the frame.
Read the frames in order, revise gaps or pacing, then take your plan into the online storyboard creator.
A storyboard template is a set of ordered frames for planning a story, lesson, video, comic, or animation. A blank template gives you space to sketch each moment and add useful notes.
Use three panels for a short beginning-middle-end sequence. Choose six panels when you need to show more changes, actions, or camera shots. You can print another page if your project grows.
Yes. The blank three-panel and six-panel worksheets on this page are free PDF downloads in US Letter and A4 sizes.
Yes. Students can draw by hand and write under each frame. Teachers can use the same pages for reading, writing, science, history, and media projects.