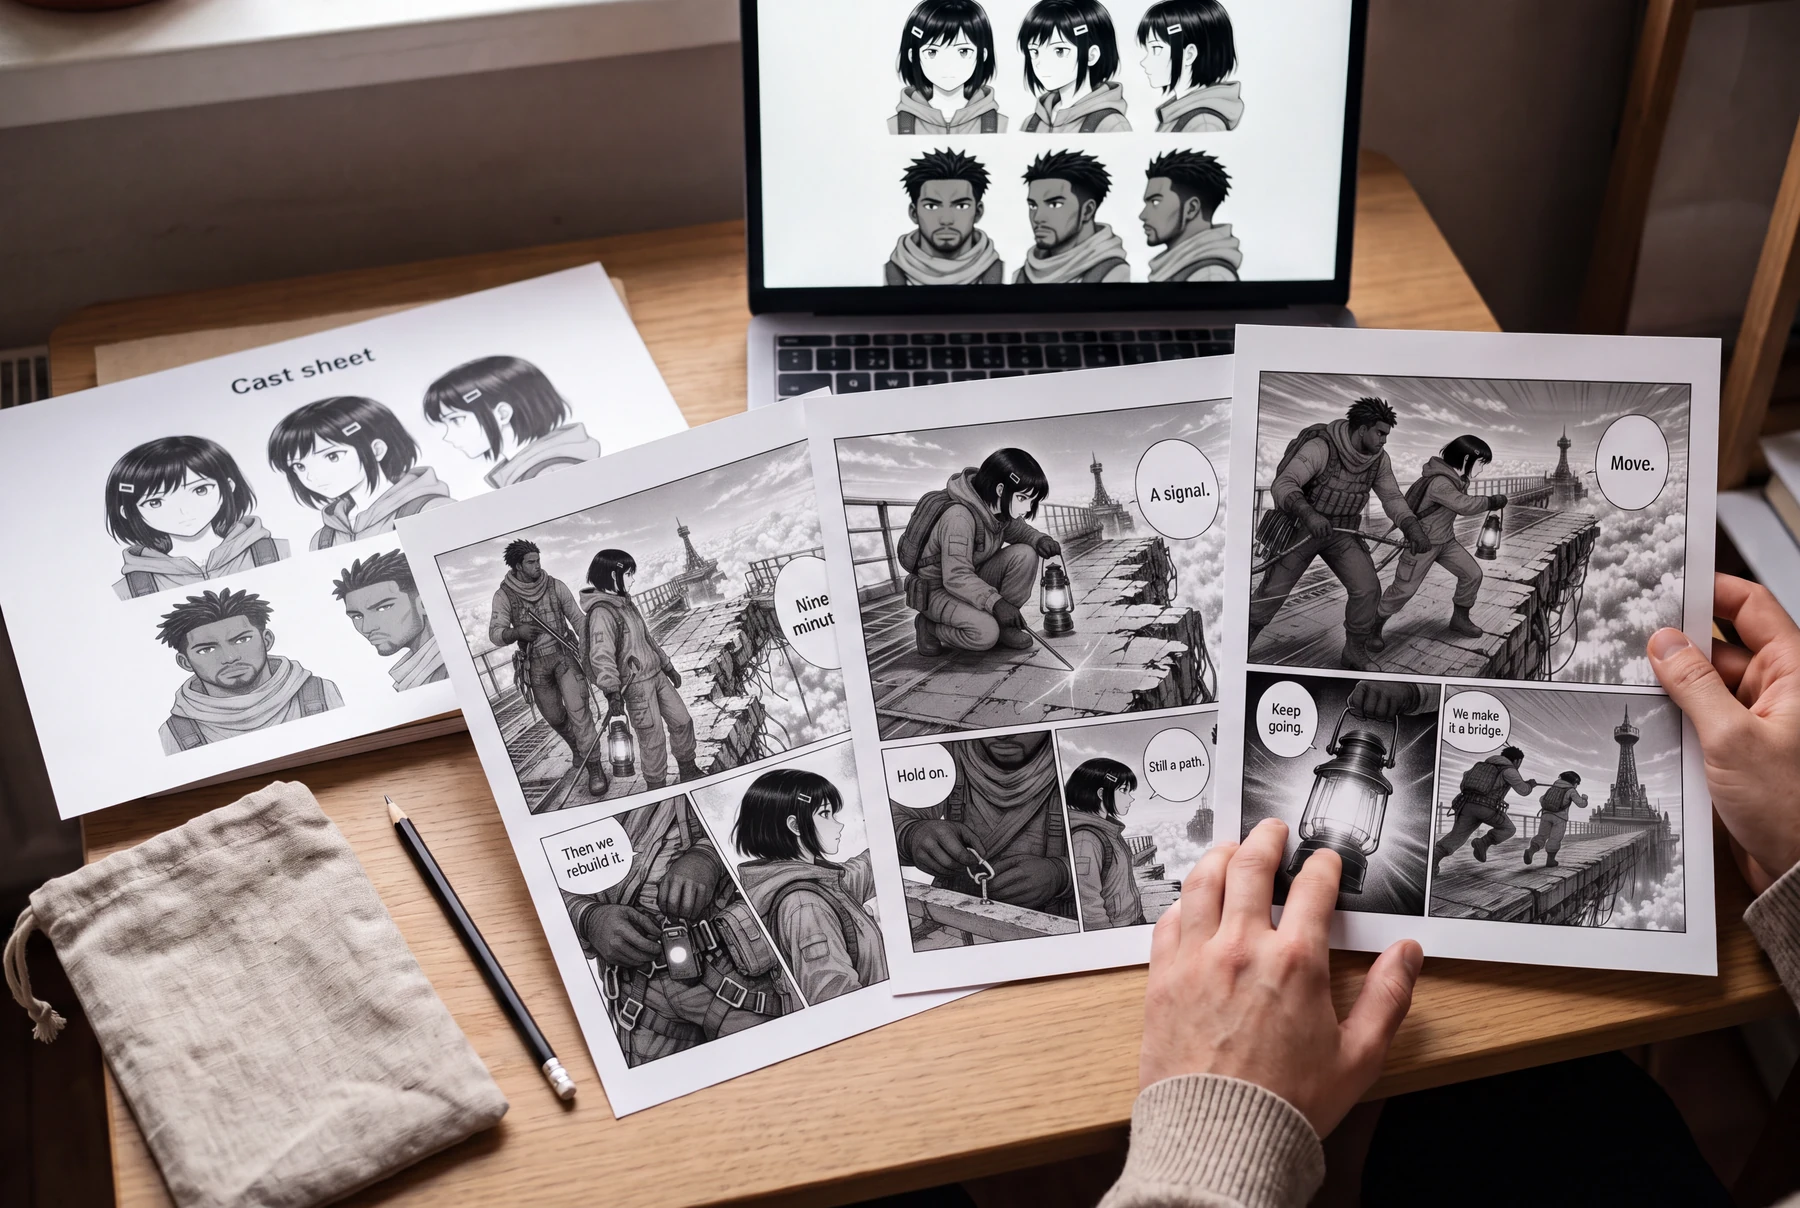

Reading order & lettering
Make the next panel obvious.
A beautiful page can still tell the story in the wrong order. Decide how the reader enters each panel, encounters dialogue, and reaches the reveal before you polish the artwork.
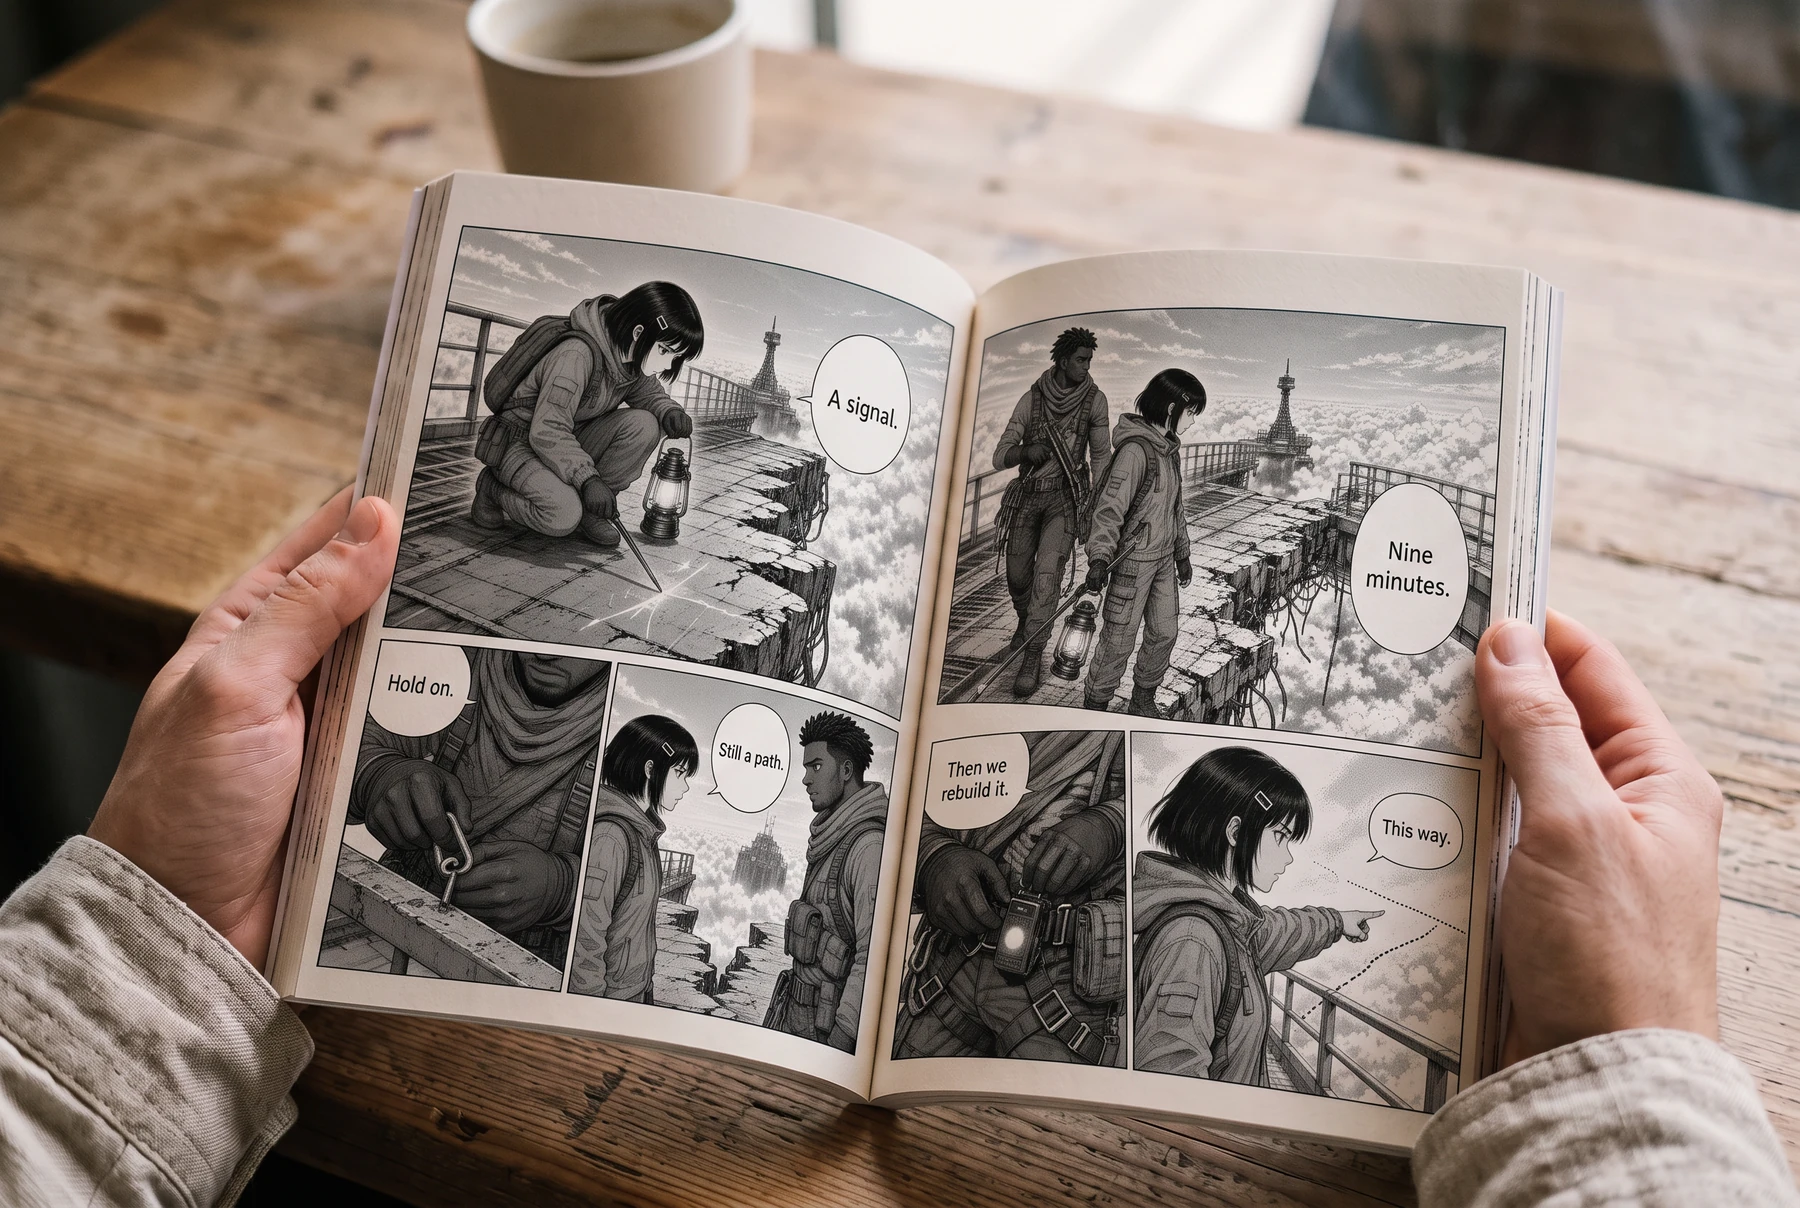
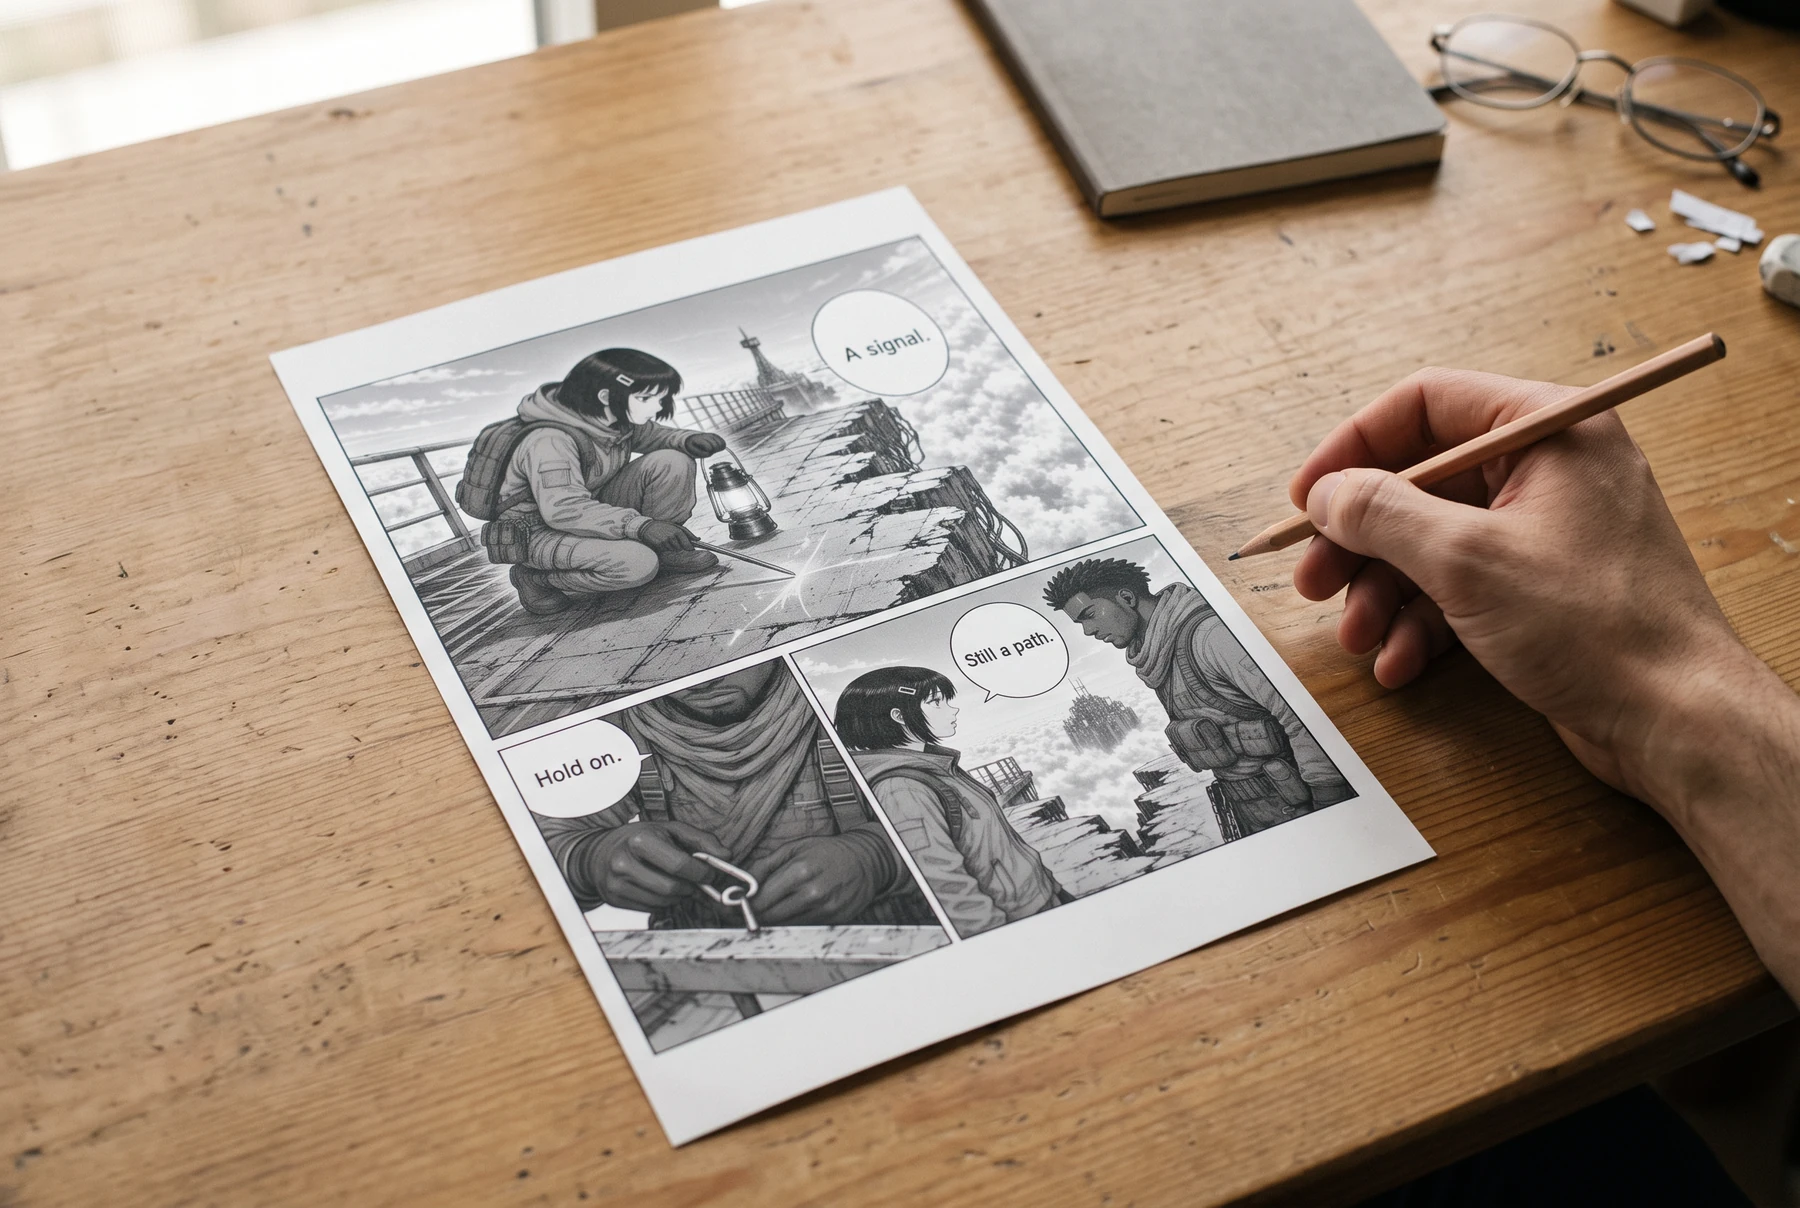
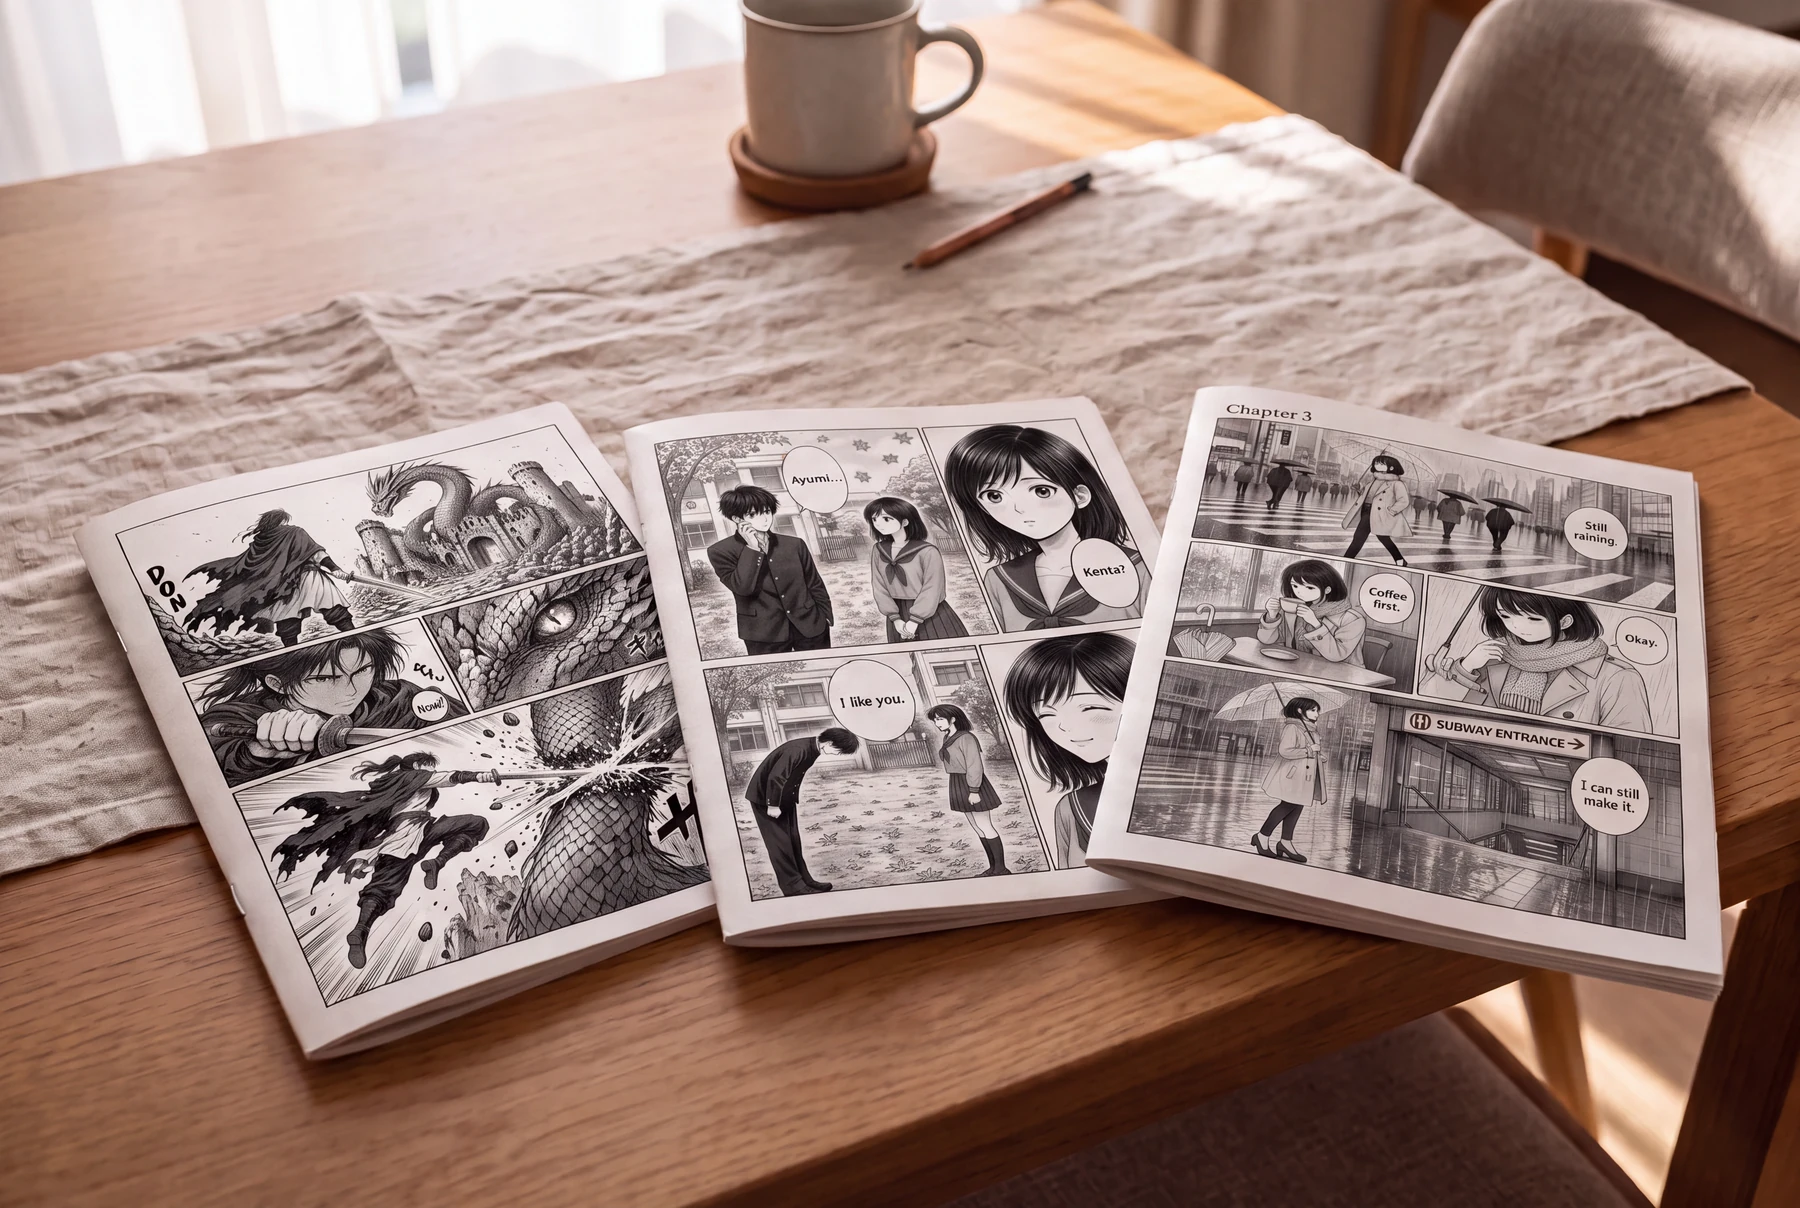
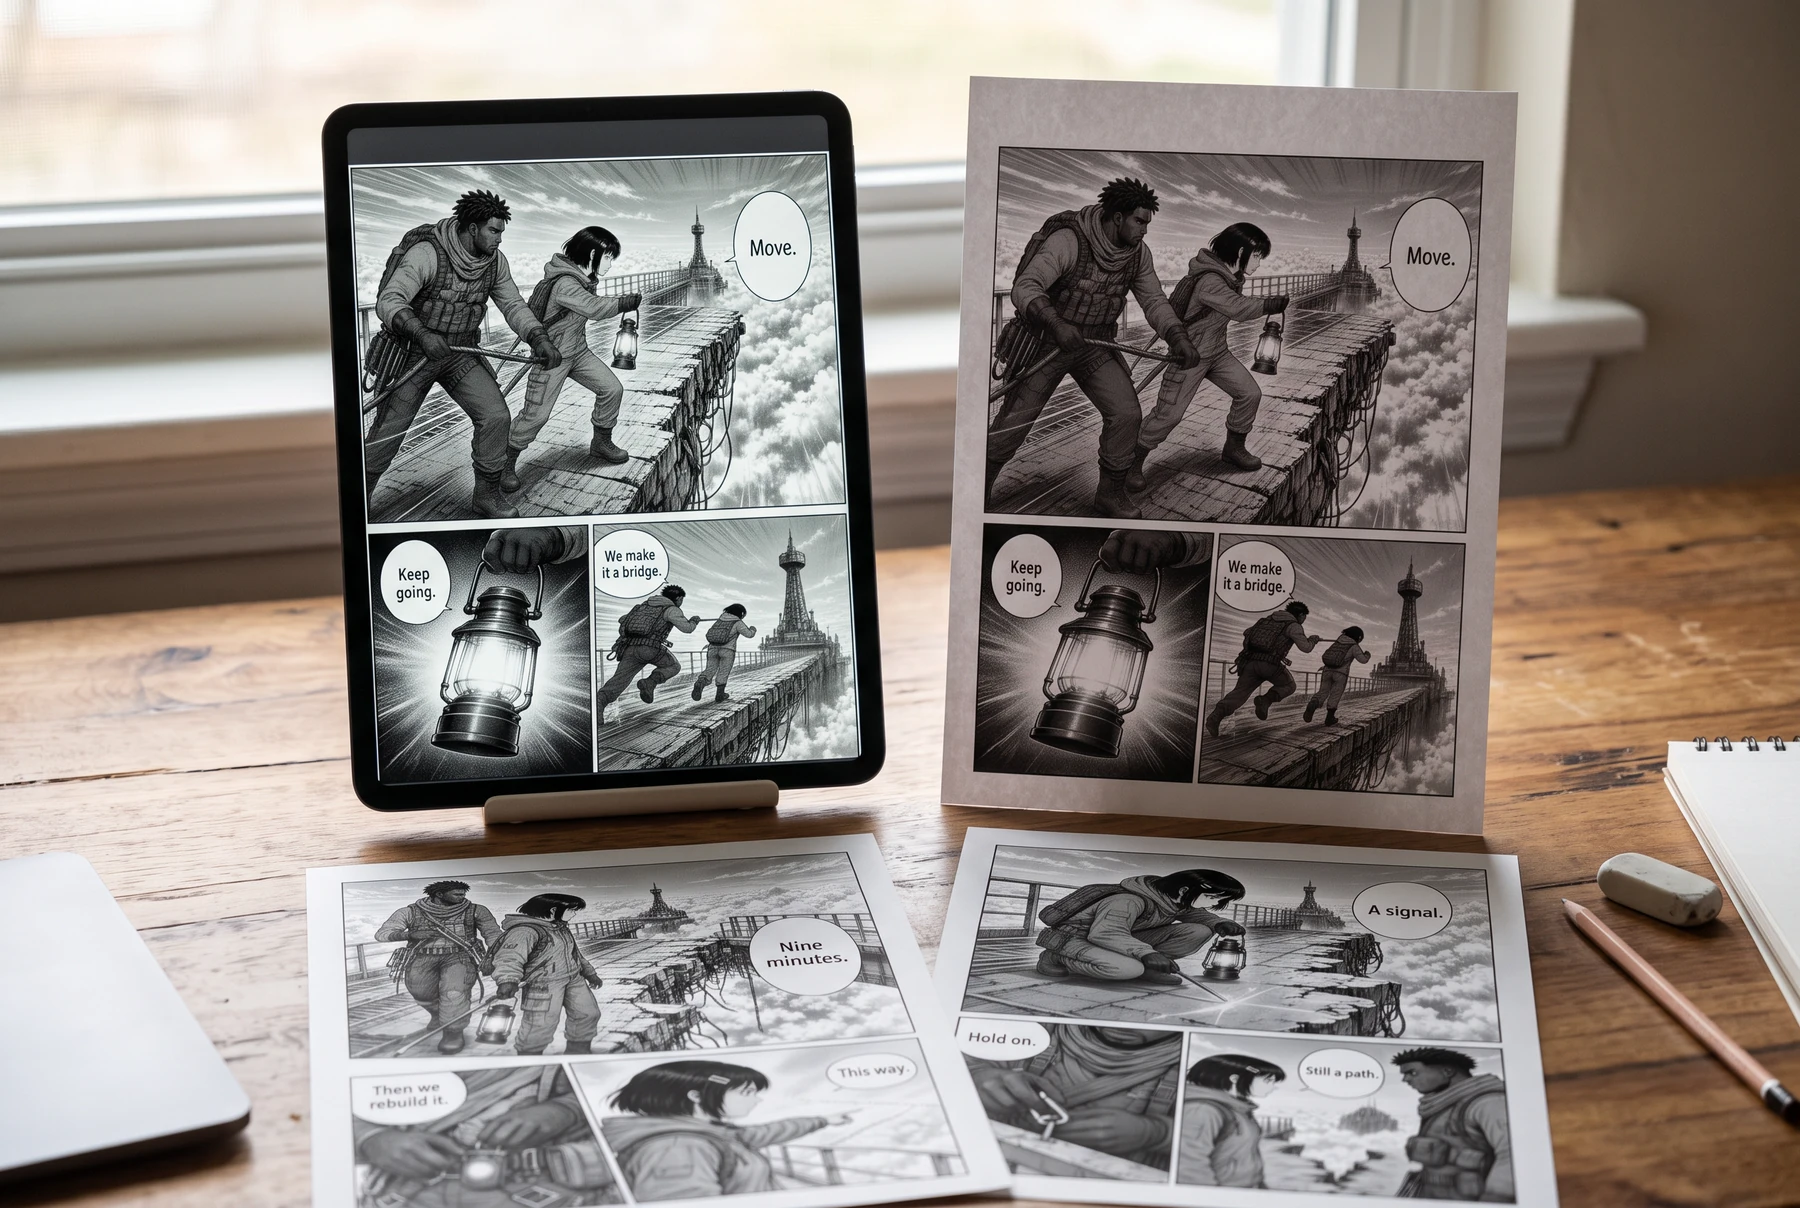
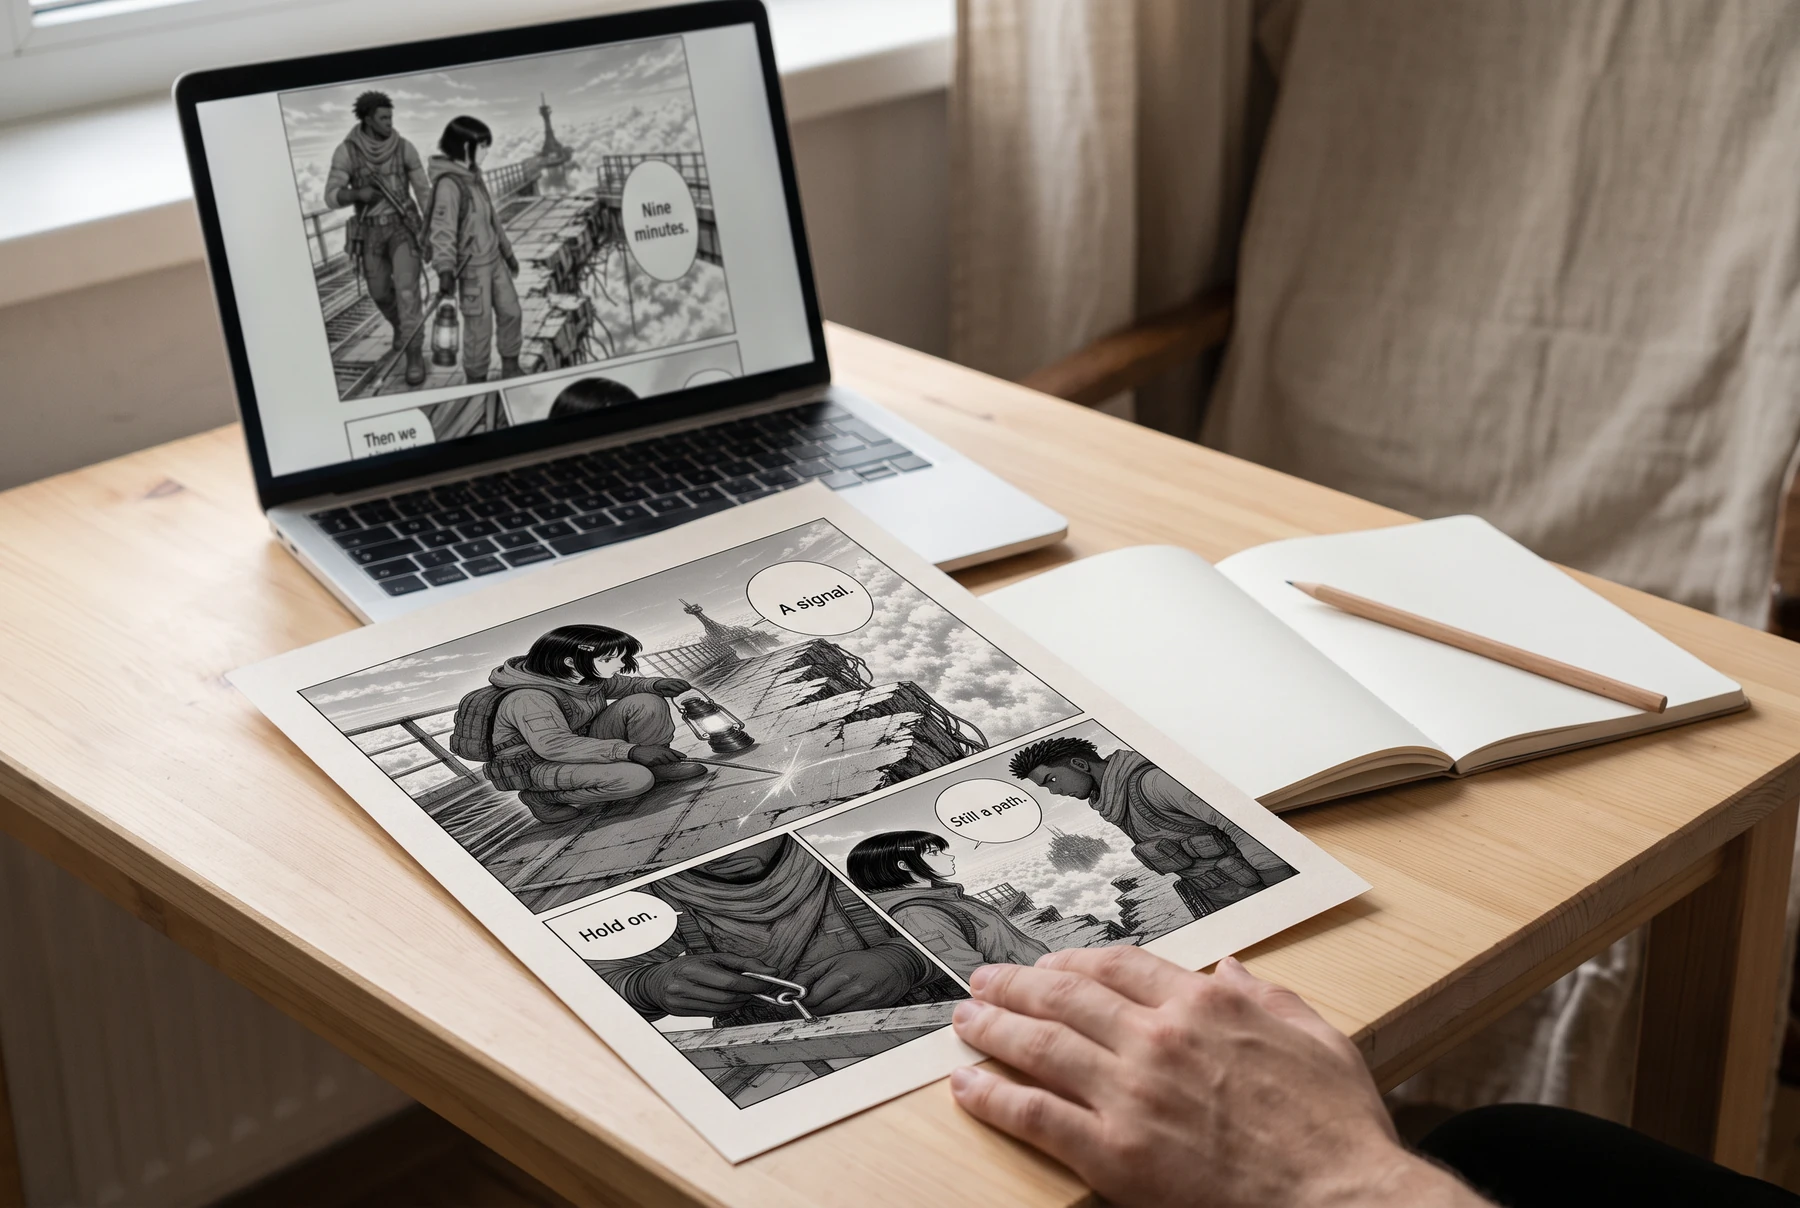
AI-generated lifestyle concepts with fictional people and original sample artwork. These scenes illustrate how manga could be read or presented; they are not customer photographs or verified product runs. Printed books and sets are self-prepared concepts, not a printing or delivery service offered by LlamaGen.
01
Choose a reading direction before drawing
For a conventional right-to-left manga page, begin at the upper right. Read across the upper row toward the left, then enter the next row from its right edge. VIZ’s publisher FAQ explains the right-to-left convention; Scholastic’s reading guide illustrates the panel and balloon sequence.
Set the convention for the whole chapter. If your audience or publishing format calls for left-to-right pages or vertical scrolling, plan that version deliberately. An English translation can retain a right-to-left panel order while the words inside a balloon read left to right.
02
Reserve dialogue space in the thumbnail
Use rough boxes and placeholder balloons before generating finished art. In the diagram, the first balloon sits toward the upper right of panel 1 and the response is lower and farther left. This is a simple teaching layout; unusual panel shapes need their own reading check.
- Give each line a speaker
- Keep a dialogue list with panel number, speaker, and exact text. Point each tail toward that speaker and keep tails from crossing.
- Keep the action visible
- Leave space around the face, the notebook handoff, and the clue. If text covers the important gesture, shorten the line or change the composition.
- Check the final viewing size
- Read a phone-size preview and the intended print-size proof. There is no single font size that works for every page dimension, language, and typeface.
03
Separate the image brief from the lettering brief
Generated text can be misspelled, duplicated, or assigned to the wrong speaker. Treat the output as a draft and keep an editable copy of the dialogue. For exact wording, review and place the lettering in an editor rather than accepting the first image.
Example lettering brief — adapt to your page
Format: one right-to-left page, two rows of two panels.
Panel order: upper right 1; upper left 2; lower right 3; lower left 4.
Panel 1: Mira, upper-right balloon: ‘Is this yours?’ Response, lower-left balloon: ‘My notebook!’
Panel 2: a quiet close-up of the notebook; no dialogue.
Panel 3: Mira hands it back: ‘You left it on the bench.’
Panel 4: the owner smiles: ‘Thank you.’
Keep lettering away from faces and the handoff. Do not mirror the character artwork to change reading direction.
04
Review the translated page as a new layout
A translated line can need different wrapping or a different balloon shape. Keep names and character terms in a short glossary, then fit the actual translated text instead of a word-count estimate. Check punctuation, accents, and whether the chosen font has every required glyph.
Do a silent pass through the images, then a dialogue-only pass. If a response appears before its question, move the balloons or simplify the panel. Ask another reader to number the panels without seeing your script; disagreements identify places to revise. These are suggested review steps, not a reported user study.
Planning diagram
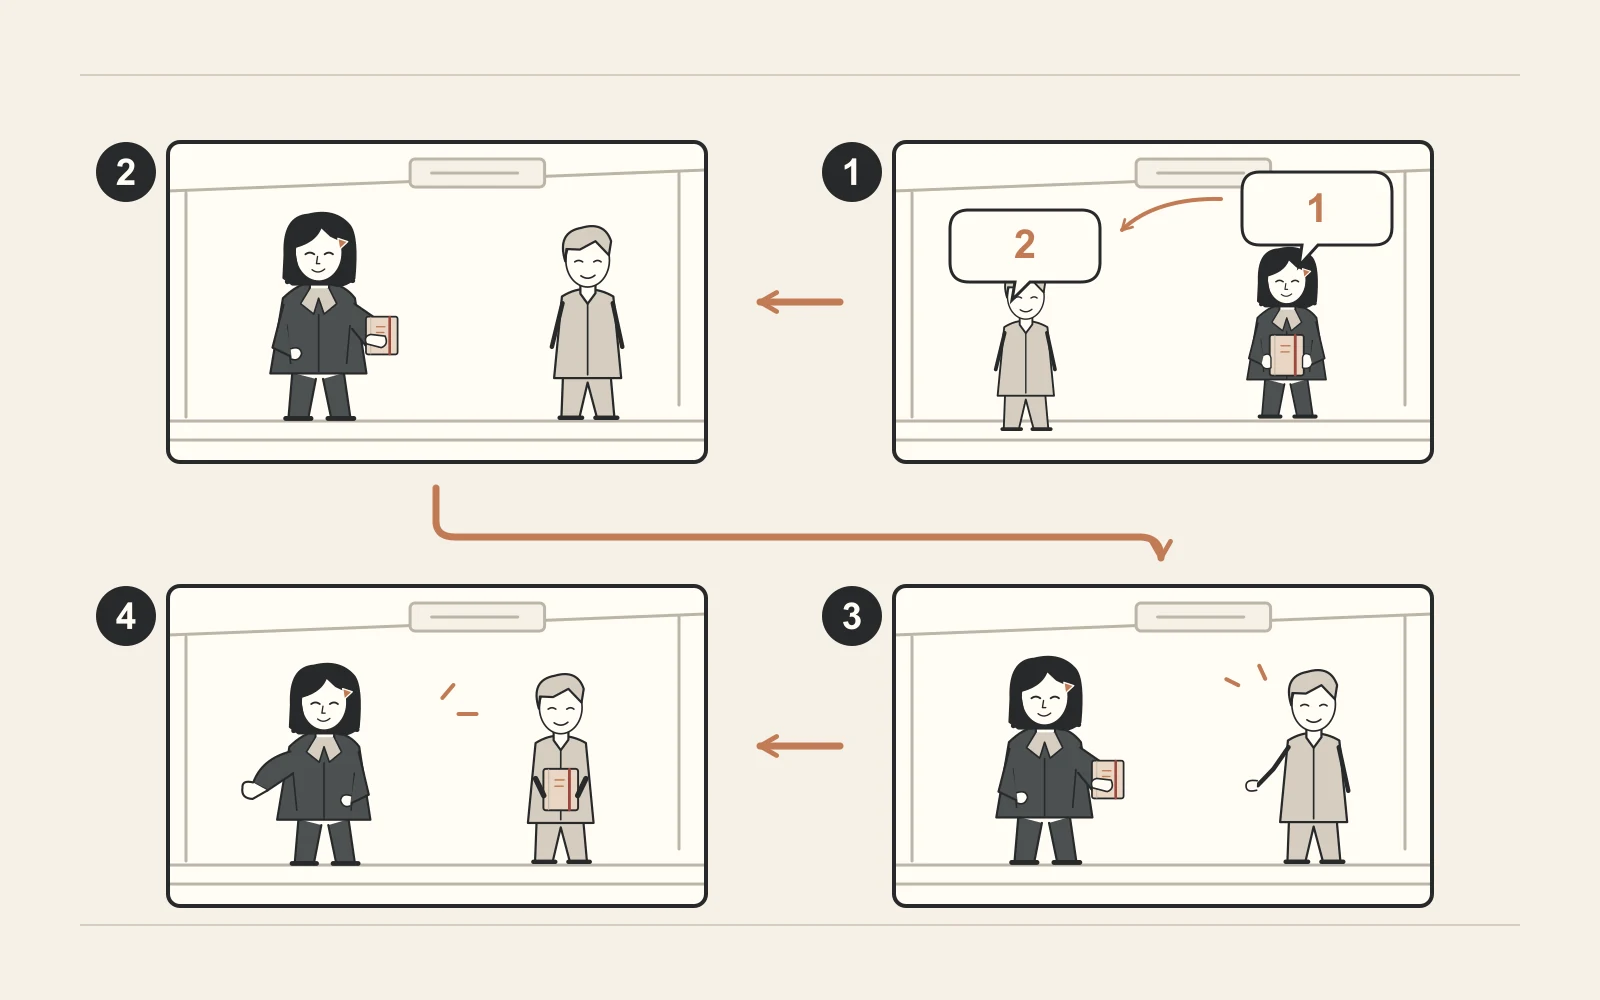
AI-assisted editorial guide with original teaching examples. The diagrams illustrate a workflow; they are not screenshots, measured product results, or customer testimonials.
Before you export
- The page has one declared reading direction.
- Panel and balloon order match the dialogue list.
- Tails identify the correct speaker without crossing.
- Text stays legible at the delivery size.
- Translated text fits without hiding faces or actions.
- Spelling, glyphs, and punctuation are checked in the final export.
Questions
Does manga always have to read right to left?
Right-to-left is the conventional Japanese manga direction described by VIZ. Your project may use another convention; make it clear and keep it consistent rather than switching partway through a chapter.
Should I mirror the art for an English edition?
Plan the reading order and lettering for the edition. Mirroring a finished image can reverse text, handedness, costumes, and props; it is not a substitute for reviewing the layout.
Will an AI manga generator place every balloon correctly?
Do not assume it will. Check the exact text, order, speaker, and tail placement, and correct the page in an editor when needed.
Sources & scope
Sources support the specific points described below. A source link does not imply an endorsement of LlamaGen.
- VIZ: What are manga and anime?
Publisher explanation of the right-to-left reading convention; not a review or endorsement of LlamaGen.
- Scholastic: Support for reading manga (PDF)
Educator guide with a panel-order diagram and advice on following balloons. The layout and example brief above are our own.